This Orange Creamsicle Pie is the nostalgic, sun-drenched treat your summer gatherings have been missing. Combining the citrusy zing of a classic ice cream bar with the sophisticated texture of a chilled tart, this Orange Creamsicle Pie features a pressed vanilla cookie crumb crust and a vibrant orange-colored chilled cream filling. Whether you are hosting a backyard BBQ or looking for a refreshing weeknight sweet, this recipe captures the essence of summer in every bite. If you love fruit-forward desserts, you might also enjoy our strawberry pecan chicken salad as a light lunch before diving into this pie!
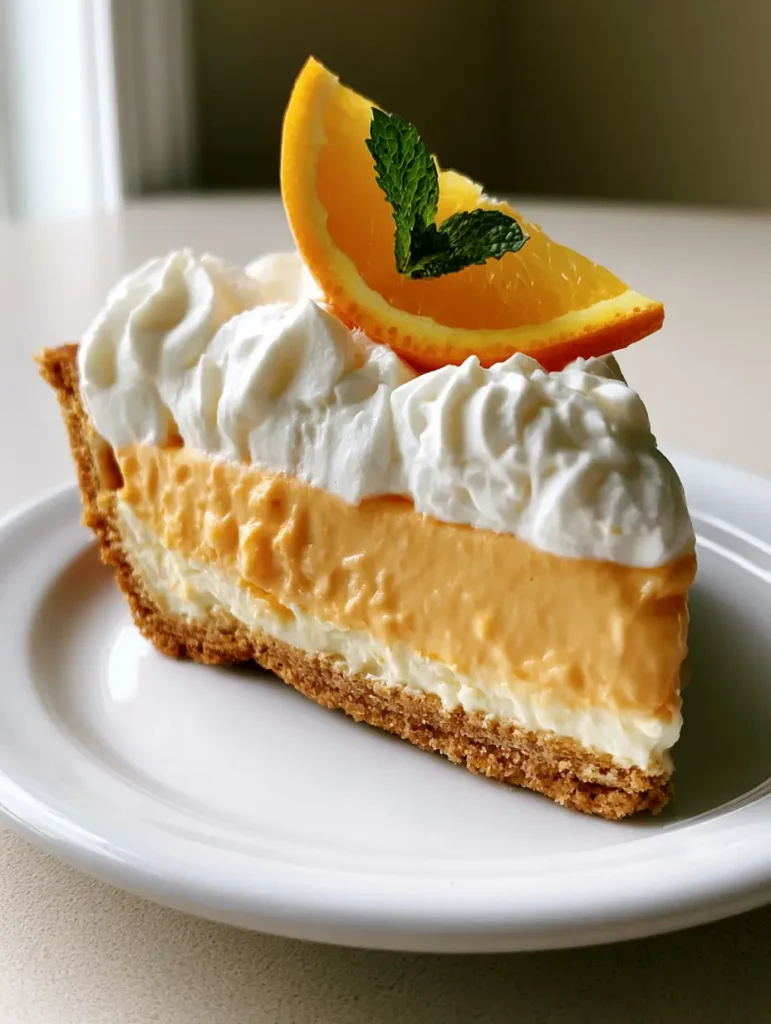
Why This Orange Creamsicle Pie is a Pinterest Favorite
There is a reason this recipe is currently going viral on social media. It hits that perfect “sweet spot” of visual appeal and low-effort execution.
- Textural Contrast: The crunch of the pressed golden-brown vanilla cookie crumb crust perfectly offsets the smooth, matte texture of the filling.
- Visual Pop: The vibrant orange-colored chilled cream filling creates a stunning color block effect against the fluffy white whipped cream peaks.
- No-Bake Simplicity: Keep your kitchen cool while delivering a dessert that looks like it came from a high-end bakery.
- Refreshing Flavor: The combination of real orange zest and juice provides an authentic citrus punch that isn’t overly sugary.
The Anatomy of a Perfect Orange Creamsicle Pie
Before we dive into the steps, let’s look at the ingredients that make this Orange Creamsicle Pie a standout success. Each component is chosen for its ability to hold structure while maintaining a melt-in-your-mouth feel.
For the base, we use vanilla wafers. Unlike a standard graham cracker crust, vanilla cookies provide a creamy, buttery backbone that enhances the “creamsicle” flavor profile. This is much like the delicate balance found in our cherry amaretto tiramisu.
The filling relies on a blend of cream cheese for stability and orange-flavored gelatin for that iconic hue and “matte texture.” We elevate the flavor with fresh orange juice and zest to ensure it tastes like real fruit, not just a candy shop.
Essential Ingredients for Success
- 2 cups (approx. 200g) Vanilla Wafer Crumbs: These provide the foundation. Ensure they are finely ground for a pressed vanilla cookie crumb crust that doesn’t crumble.
- 1/2 cup (115g) Unsalted Butter, melted: The “glue” for your crust. We use unsalted to control the sodium levels.
- 8 oz (225g) Full-Fat Cream Cheese, softened: Provides the creamy, tangy body of the chilled orange cream filling.
- 1/2 cup (100g) Granulated Sugar: To balance the citrus acidity.
- 1 box (3 oz / 85g) Orange Flavored Gelatin: This gives us the vibrant orange-colored visual and helps the pie set firmly.
- 1/2 cup (120ml) Boiling Water: To dissolve the gelatin.
- 1/4 cup (60ml) Freshly Squeezed Orange Juice: For an authentic, bright citrus flavor.
- 1 tbsp Orange Zest: The secret to aromatic depth.
- 1.5 cups (360ml) Heavy Whipping Cream: Divided between the filling and the whipped cream topping.
- Fresh Orange Slices & Mint Leaves: For the fresh green mint leaf garnish that makes your photos pop.
Mastering the Pressed Vanilla Cookie Crumb Crust
Step 1: The Perfect Grind
Place your vanilla wafers in a food processor. Pulse until you have fine, uniform crumbs. If you don’t have a processor, place them in a heavy-duty freezer bag and use a rolling pin. You want a texture that resembles wet sand.
Step 2: Combining and Pressing
Mix the crumbs with the melted butter. Pour the mixture into a 9-inch (23cm) pie dish. Use the bottom of a flat measuring cup to press the crumbs firmly into the bottom and up the sides. This ensures a thick, pressed golden-brown vanilla cookie crumb crust that holds its shape when sliced.
Step 3: The Initial Chill
Place the crust in the freezer for 15 minutes while you prepare the filling. This “sets” the butter, preventing the crust from becoming soggy when the chilled orange cream filling is added. If you like no-bake crusts, you’ll love the base of our 4th of July dessert lasagna.
Creating the Vibrant Orange Cream Filling
Step 4: Gelatin Magic
In a small bowl, whisk the orange gelatin into the 1/2 cup (120ml) of boiling water until completely dissolved. Stir in the cold orange juice. Let this mixture sit for 5-10 minutes until it is no longer hot to the touch but still liquid. This prevents the cream cheese from curdling.
Step 5: The Cream Cheese Base
In a large bowl, beat the softened cream cheese and sugar until light and fluffy. This usually takes about 3 minutes with a hand mixer. Gradually pour in the orange gelatin mixture while continuing to beat on low speed. Add the orange zest.
Step 6: Folding for Texture
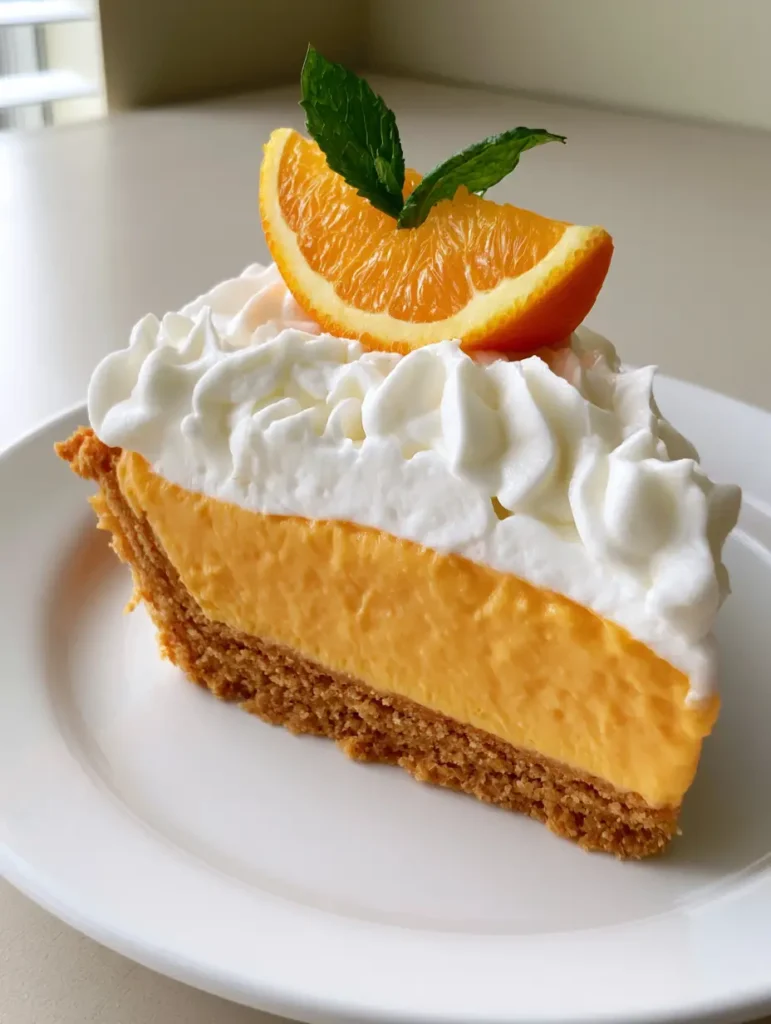
Whip 1/2 cup (120ml) of the heavy cream to stiff peaks. Gently fold this into the orange mixture. This creates the smooth, matte texture and airy feel of the Orange Creamsicle Pie filling. Pour the mixture into your prepared crust and smooth the top with a spatula.
The Long Chill: Patience is Key
Your pie needs at least 4 hours—preferably overnight—in the refrigerator. This allows the gelatin and cream cheese to bond, resulting in a chilled orange cream filling that provides a clean, sharp edge when you cut into a single slice. If you are in a rush for dessert, our peach cobbler recipe might be a faster alternative, but the wait for this pie is truly worth it.
Finishing Touches: Whipped Cream Peaks and Garnish
Step 7: The Topping
Whip the remaining 1 cup (240ml) of heavy cream with a tablespoon of powdered sugar until you achieve thick, fluffy white whipped cream peaks. You can spread this over the entire pie or use a piping bag with a star tip for a more professional look.
Step 8: The Iconic Garnish
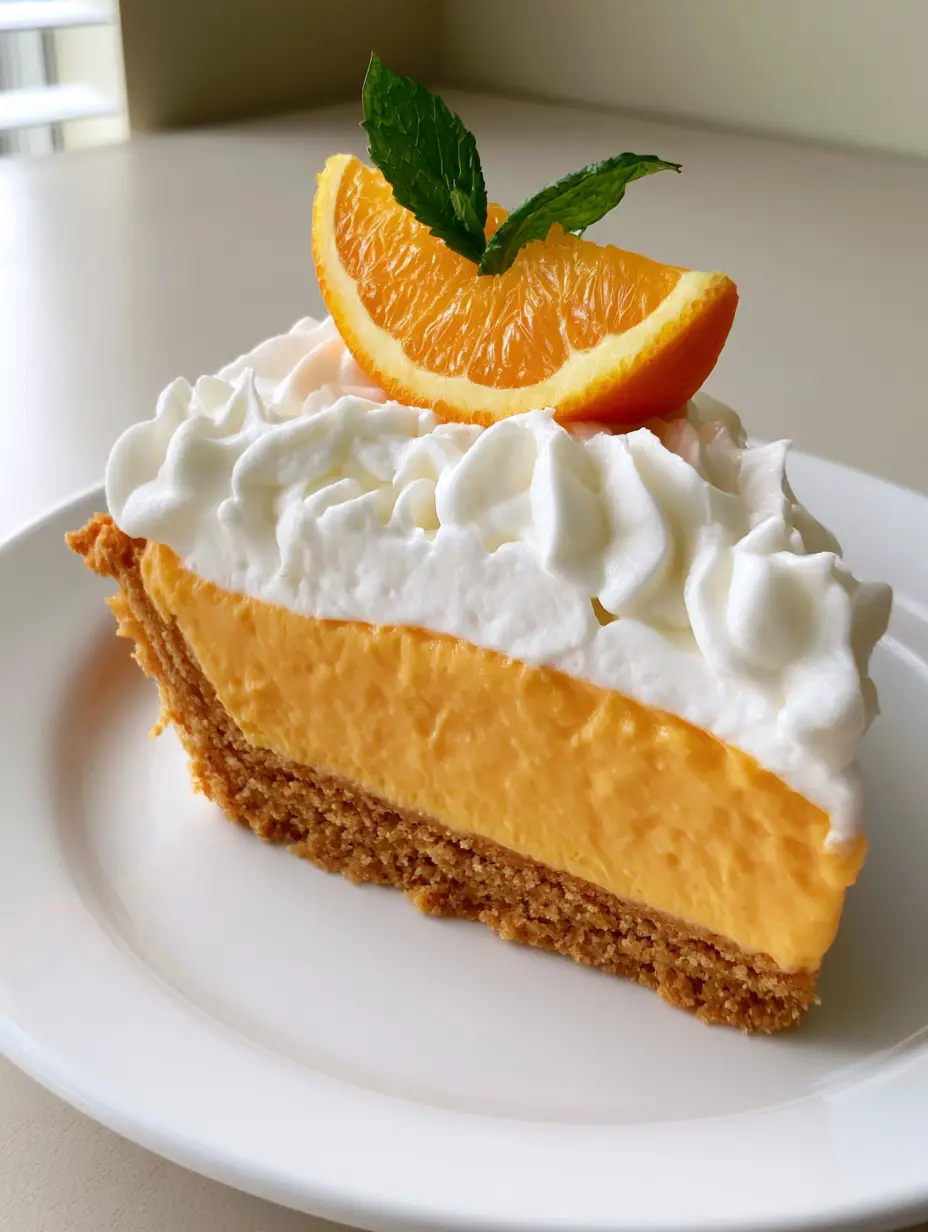
To match the visual appeal of a professional Orange Creamsicle Pie, place a thin, fresh half-moon slice of bright orange on each slice. Add a small green mint sprig precisely on top. This provides a fresh aromatic component and a beautiful color contrast against the white cream.
Expert Tips for the Perfect Pie
- Room Temperature Ingredients: Always ensure your cream cheese is completely softened. If it’s cold, your filling will have tiny lumps instead of a smooth, matte texture.
- Zest First: Always zest your orange before juicing it. It’s nearly impossible to zest a squeezed orange half!
- Clean Slices: To get that perfect single slice of orange creamsicle pie seen in our photos, dip your knife in hot water and wipe it clean between every single cut.
- Vibrant Color: If your gelatin isn’t “vibrant” enough, you can add one single drop of orange food coloring Gel, though usually, the 3oz box provides the perfect vibrant orange-colored look naturally.
Storage and Freezing Instructions
This Orange Creamsicle Pie stores beautifully in the refrigerator for up to 4 days. Keep it covered with a pie dome or loosely with plastic wrap. Avoid pressing the wrap directly onto the whipped cream topping.
Can you freeze Orange Creamsicle Pie? Yes! This pie actually makes a delicious semi-frozen treat. Freeze for up to 1 month. Thaw in the refrigerator for 2 hours before serving to maintain the chilled orange cream consistency without it becoming icy.
What to Serve With This Pie
Since this is a rich, creamy dessert, it pairs best with light, savory mains. We recommend serving it after a meal of grilled proteins. The citrus notes complement the smoky flavors found in our cowboy butter recipe used on grilled steaks or chicken.
Frequently Asked Questions
Yes, you can substitute graham crackers, but vanilla wafers provide a specific buttery flavor that complements the ‘creamsicle’ profile much better.
Yes, sugar-free orange gelatin works perfectly and will still provide the vibrant orange color and structural set required for the pie.
While bottled juice works, fresh orange juice and zest provide a brighter, more authentic citrus flavor that prevents the pie from tasting artificial.
The matte texture comes from the combination of cream cheese and gelatin. Avoid over-whipping the mixture once the gelatin is added, and ensure you fold in the whipped cream gently.
Runny filling usually happens if the gelatin wasn’t fully dissolved in boiling water or if the pie didn’t chill long enough. Ensure at least 4 hours of refrigeration for the gelatin to set the cream cheese.
The Official Orange Creamsicle Pie Recipe
Orange Creamsicle Pie: The Ultimate No-Bake Summer Dessert
Ingredients
Equipment
Method
- Combine vanilla wafer crumbs and melted butter in a bowl until the mixture looks like wet sand.
- Press firmly into a 9-inch pie plate. Freeze for 15 minutes to set.
- Whisk orange gelatin into boiling water. Stir in orange juice and zest. Let cool slightly.
- Beat cream cheese and sugar until fluffy. Slowly beat in the gelatin mixture.
- Whip 1/2 cup cream to stiff peaks and gently fold into the orange base. Pour into crust.
- Refrigerate the pie for at least 4 hours until the filling is firm and matte.
- Whip remaining cream to fluffy peaks. Top the pie and garnish with orange slices and mint.
Notes
Use a hot knife to cut clean slices of the chilled pie.

Save This Recipe for Later!
Did you make this Orange Creamsicle Pie? We want to see your results! This recipe is designed to be a “showstopper” on your dessert table. Save this recipe to your “Summer Desserts” board on Pinterest so you never lose it. Follow RecipeHarvest for more triple-tested, high-impact recipes like this one. Don’t forget to leave a 5-star rating in the comments and upload a photo of your vibrant orange slices—it helps our community grow!