Ricotta Stuffed Chicken Rolls are the ultimate weeknight dinner that looks like a high-end restaurant dish but comes together in your own kitchen. This recipe delivers a stunning contrast between a golden-brown crispy seared exterior and a dense, creamy herbed ricotta filling that melts in your mouth. If you are looking for a way to transform basic chicken breast into a gourmet masterpiece, these savory rolls, drizzled with a light pan jus and fresh olive oil, are the answer.
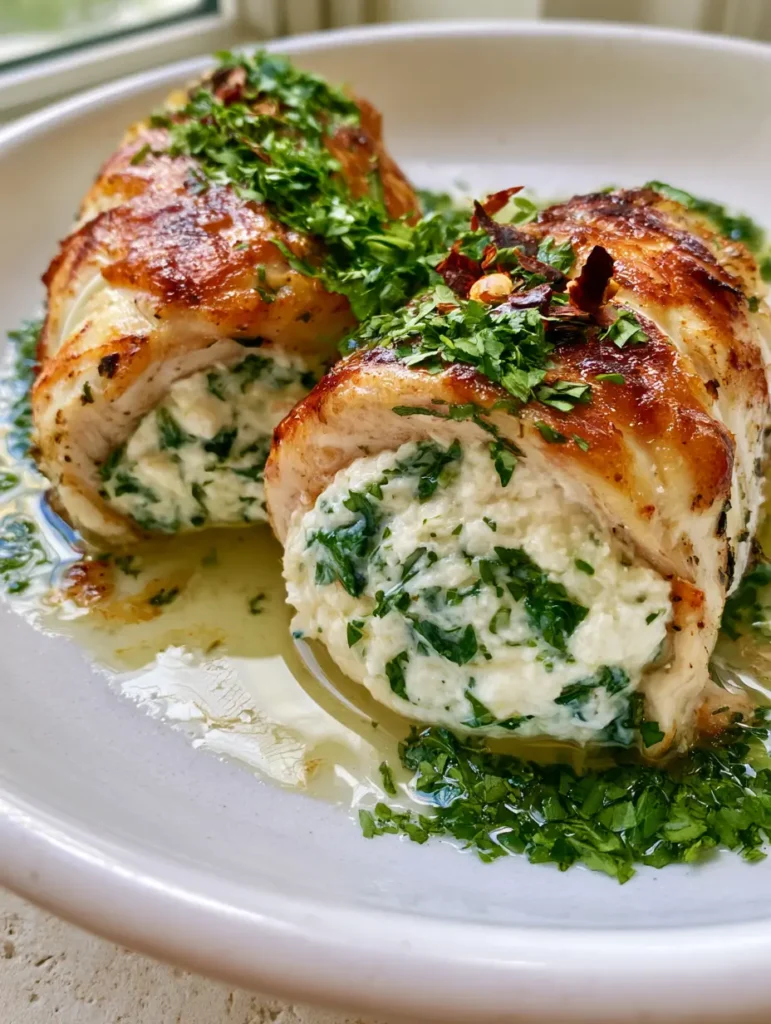
When you slice into these Ricotta Stuffed Chicken Rolls, you’ll immediately see the bright green herbs speckled throughout the rich white cheese. The aroma of garlic, lemon zest, and cracked black pepper fills the air, making it impossible to wait for the first bite. Whether you are hosting a dinner party or just want to level up your family meal, this dish is a guaranteed showstopper that performs exceptionally well for home cooks who love visual results.
Why These Ricotta Stuffed Chicken Rolls Are a Total Game-Changer
- Perfect Textural Contrast: You get the crunch of the blistered chicken skin followed by the velvety smooth ricotta center.
- Pinterest-Ready Presentation: The high-angle handheld photo style makes this dish look approachable yet incredibly professional on any social feed.
- Flavor Harmony: The acidity of the lemon and the heat from red pepper flakes perfectly balance the richness of the cheese.
- Quick Pan Jus: We use the fond (browned bits) from the pan to create a translucent light sauce that ties the whole dish together.
If you love the flavor profile of a classic Italian-inspired chicken saltimbocca, you will find this stuffed version even more satisfying and creamy. It’s a great alternative to a parmesan crusted chicken texture when you want something elegant without the heavy breading.
Essential Ingredients for the Creamiest Herbed Filling
To ensure your Ricotta Stuffed Chicken Rolls stay juicy and flavorful, we use a combination of high-quality fats and fresh aromatics. Each ingredient serves a specific purpose in building the final flavor profile.
The Protein Foundation
2 large (approx. 500g) Chicken Breasts: Look for even-sized breasts. We will butterfly and pound these thin to ensure even cooking and easy rolling. The skin-on option provides that golden-brown crispy seared exterior, but skinless works well if you sear it properly in olive oil.
The Ricotta Herb Mixture
1 cup (250g) Whole Milk Ricotta: Use full-fat ricotta for the densest, creamiest filling. Low-fat versions tend to release too much moisture, which can make the chicken soggy. If you have extra ricotta, you might even consider using it for a sweet treat like savory ricotta cannoli squares style filling.
1/4 cup (10g) Fresh Chopped Parsley: This adds a vibrant green color and a fresh, peppery bite that cuts through the fat of the cheese.
1 tsp (2g) Red Pepper Flakes: Just enough to provide a subtle back-end heat without overpowering the delicate herbs.
1/2 tsp (1g) Cracked Black Pepper: Freshly cracked is non-negotiable here; the coarse grind provides excellent visual speckles and a punchy flavor.
The Pan Sauce & Finish
2 tbsp (30ml) Extra Virgin Olive Oil: Used for both searing and the final olive oil drizzle that coats the plate. A high-quality oil makes a massive difference in the light pan jus.
1/4 cup (60ml) Dry White Wine or Chicken Stock: This is used to deglaze the pan, picking up all those savory charred bits to create a translucent light sauce.
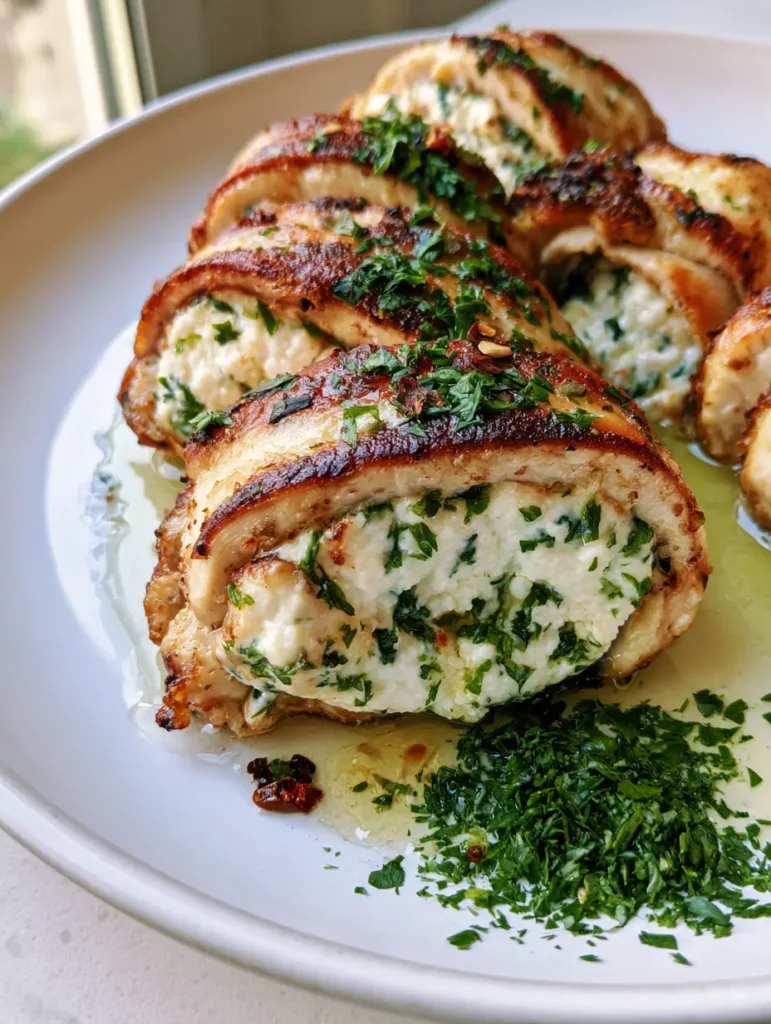
How to Prep and Roll Your Chicken Like a Professional
The secret to perfect Ricotta Stuffed Chicken Rolls is all in the preparation. You want the chicken to be thin enough to roll, but sturdy enough to hold the filling without tearing.
Step 1: Pounding and Seasoning
Place your butterflied chicken breasts between two sheets of plastic wrap. Using a meat mallet, gently pound them to an even 1/4 inch (6mm) thickness. Sprinkle both sides generously with salt and cracked black pepper. This ensures the meat is seasoned from the inside out.
Step 2: The Filling Technique
In a small bowl, mix the ricotta, fresh parsley, lemon zest, and red pepper flakes. Spread a thick, even layer over the chicken, leaving a small margin at the edges. This prevents the filling from leaking out too much during the searing process. Much like preparing a chicken zucchini bake, you want the ingredients to be tightly integrated.
Step 3: The Roll and Secure
Roll the chicken tightly, starting from the narrower end. Secure the seam with 3-4 toothpicks. Visual Cue: The rolls should look uniform and plump. Don’t worry if a little ricotta peeks out; it will caramelize beautifully in the pan.
Achieving the Perfect Golden-Brown Crispy Skin
This is where the magic happens. To get that slight charring and crispy texture seen in our visual blueprint, you need heat management.
The Sear
Heat the olive oil in a heavy-bottomed stainless steel or cast-iron skillet over medium-high heat. Once the oil shimmers, place the chicken rolls seam-side down. Sensory Cue: You should hear a vigorous sizzle immediately. Resist the urge to move them for at least 3-4 minutes to develop that golden-brown crispy exterior.
The Deglaze and Jus
Once the chicken is seared on all sides and cooked through (internal temp of 165°F / 74°C), remove the rolls to a plate. Pour your wine or stock into the hot pan. Scrape the bottom with a wooden spoon to release the fond. Whisk in a tiny knob of butter or a splash of olive oil to create a light, translucent pan sauce.
Expert Tips for Pinterest-Worthy Results
- Dry the Skin: Use a paper towel to pat the chicken skin completely dry before seasoning. Moisture is the enemy of a crispy seared exterior.
- Don’t Overstuff: It’s tempting to add more cheese, but a dense, creamy white ricotta filling stays inside better when the roll is tight.
- Rest Before Slicing: Let the rolls rest for 5 minutes before slicing. This allows the ricotta to set slightly, so it doesn’t run out when you cut into it.
- Garnish Generously: A final sprinkle of fresh chopped parsley and a few extra red pepper flakes right before serving makes the colors pop against the white ceramic plate.
Storage, Reheating & Freezing Instructions
To Store: Keep leftover Ricotta Stuffed Chicken Rolls in an airtight container in the refrigerator for up to 3 days.
To Reheat: For best results, avoid the microwave as it can make the chicken rubbery. Instead, place them in a covered skillet with a splash of water or stock over low heat until warmed through. This helps maintain the creamy texture of the filling.
To Freeze: You can freeze these rolls raw! Wrap them tightly in plastic wrap and foil. Thaw completely in the fridge before searing as directed in the recipe instructions.
What to Serve With Herbed Chicken Rolls
Because these rolls are quite rich, they pair beautifully with lighter, acidic sides. A crisp green salad or roasted asparagus works perfectly. If you want a full Mediterranean feast, consider serving them alongside Greek chicken-inspired sides or a simple Tuscan-style pasta.
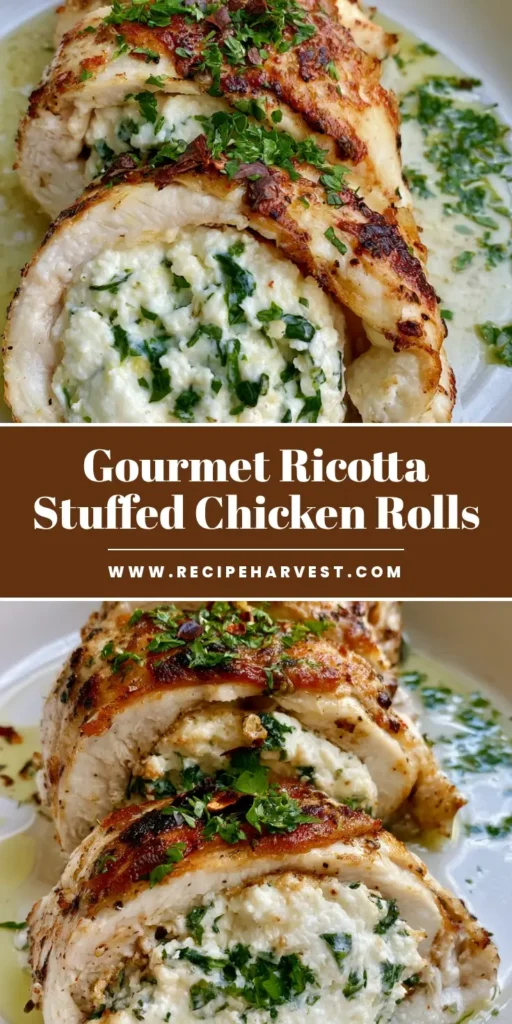
The Ultimate Ricotta Stuffed Chicken Rolls Recipe
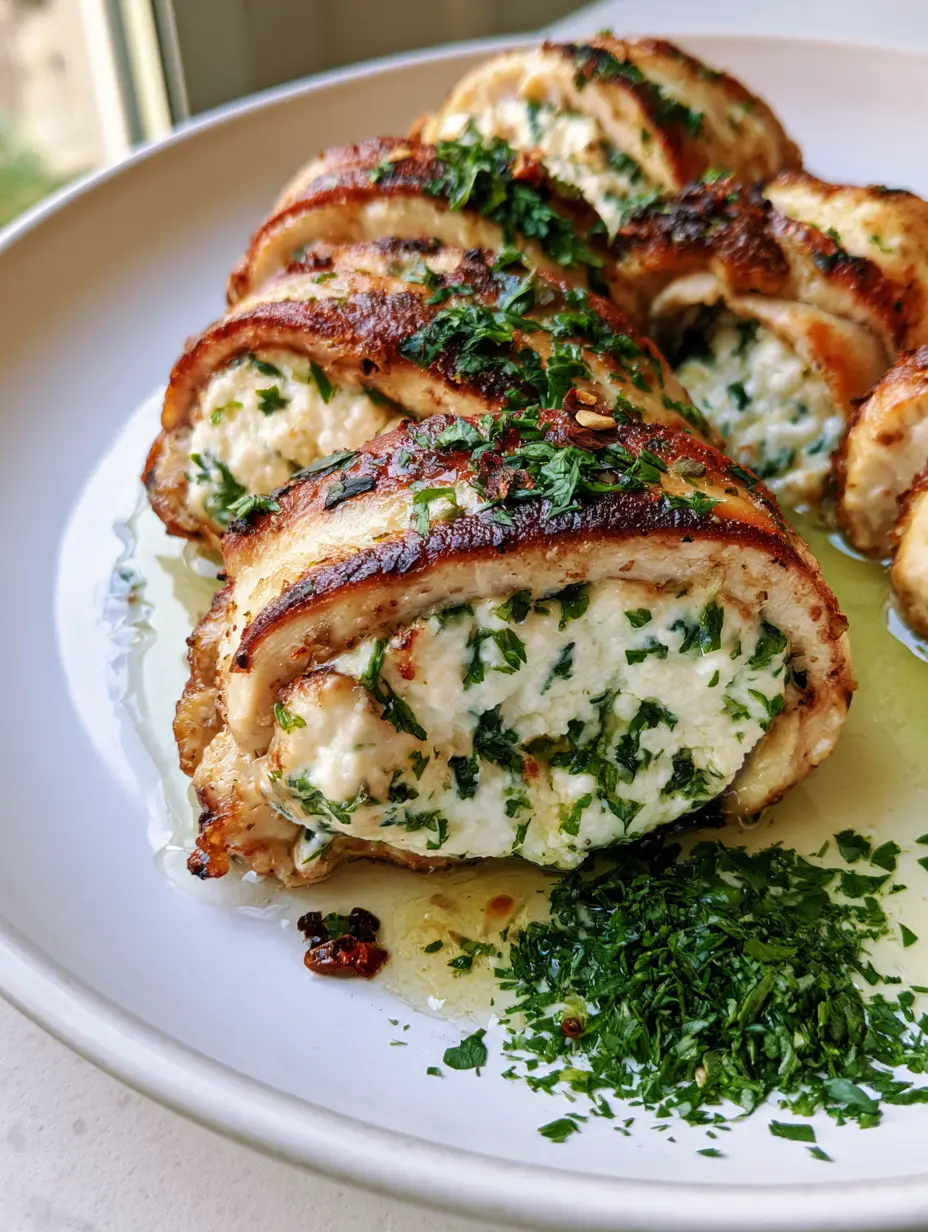
Ricotta Stuffed Chicken Rolls with Crispy Golden Skin
Ingredients
Equipment
Method
- Butterfly the chicken breasts and pound to 1/4 inch (6mm) thickness between plastic wrap.
- Season both sides of the flattened chicken with salt and cracked black pepper.
- In a bowl, combine ricotta, chopped parsley, red pepper flakes, and lemon zest.
- Spread the ricotta mixture over the chicken, roll tightly, and secure with toothpicks.
- Sear in olive oil over medium-high heat until the exterior is golden-brown and crispy (about 4 mins per side).
- Remove chicken, deglaze the pan with stock, and drizzle the resulting light pan jus over the sliced rolls.
Notes
Let the chicken rest for 5 minutes before slicing to keep the ricotta filling dense and creamy.
Yes, you can butterfly, stuff, and roll the chicken up to 24 hours in advance. Store them in the fridge and sear them fresh right before serving for the best texture.
It is not recommended. Low-fat ricotta has higher water content, which can leak out and steam the chicken rather than allowing it to sear to a golden brown.
Ensure the chicken skin is bone-dry by patting it with paper towels. Use a heavy skillet with preheated olive oil and do not move the chicken until a natural crust forms.
Pound the chicken to an even thickness so it rolls tightly. Leave a small border without filling at the edges, and secure the seam firmly with toothpicks before searing seam-side down.
Let the chicken rest for at least 5 minutes after cooking. Use a very sharp chef’s knife and slice in a single, smooth motion rather than a sawing motion.
Save This Recipe to Pinterest!
Do you love this Ricotta Stuffed Chicken Rolls recipe? Make sure to save it to your Pinterest Dinner Board so you never lose it! If you make this dish, we would love to see your results. Take a handheld smartphone photo—just like our blueprint—and share it in the comments below. Don’t forget to follow @RecipeHarvest for more daily culinary inspiration and leave a 5-star rating if this became your new favorite meal!