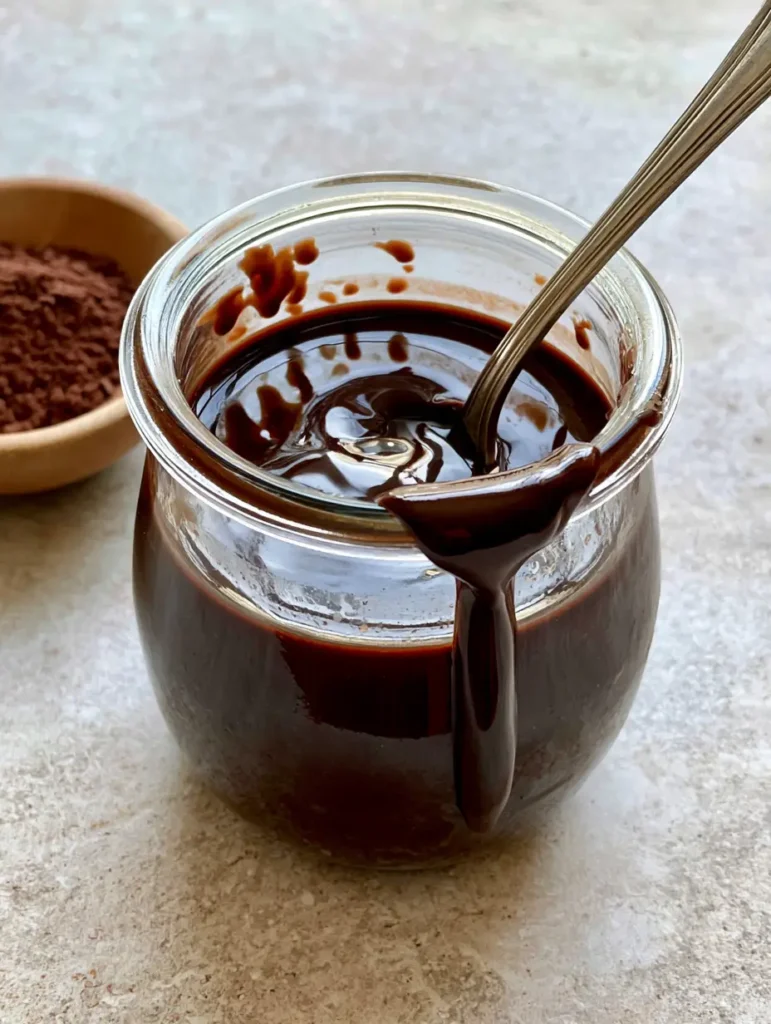
This Homemade Chocolate Syrup is about to change your dessert game forever. If you have ever stared at a bottle of store-bought chocolate sauce and wondered why it lacks that deep, mahogany punch, you are in the right place. Our recipe delivers a thick, glossy, and highly reflective syrup that puts the plastic bottles to shame. By using high-quality fine unsweetened cocoa powder and a precise simmering technique, we create a viscous liquid that ribbons perfectly off a vintage silver spoon. Whether you are drizzling it over a homemade peach cobbler or stirring it into a morning latte, this is the only chocolate sauce you will ever need.
Why This Thick Mahogany Syrup Wins Every Time
- Unmatched Glossy Finish: Unlike grainy versions, this Homemade Chocolate Syrup features a mirror-like surface that looks professional.
- Deep Cocoa Intensity: We prioritize fine unsweetened cocoa powder for a dark, sophisticated flavor profile.
- Perfect Viscosity: It is thick enough to coat a spoon but fluid enough to create beautiful ribbons over ice cream.
- No High-Fructose Corn Syrup: Control your ingredients with simple pantry staples you already own.
- Versatile Pairing: It pairs beautifully with everything from decadent cherry amaretto tiramisu to simple fresh fruit.
The Core Essentials for Chocolate Success
To achieve the visual and culinary perfection seen in our heritage glass jars, you need specific ingredients that work in harmony. The Homemade Chocolate Syrup relies on the science of sugar saturation and cocoa suspension.
1. Unsweetened Cocoa Powder: 1/2 cup (45g). This is the heart of the recipe. A fine, high-quality cocoa powder ensures a smooth texture without clumps. Using a Dutch-processed cocoa will yield an even darker, mahogany hue.
2. Granulated Sugar: 1 cup (200g). Sugar provides the sweetness but also the “body.” As it dissolves and slightly reduces, it creates that viscous, reflective surface we are looking for.
3. Cold Water: 1 cup (240ml). Starting with cold water allows you to whisk the cocoa powder effectively, preventing those dreaded dry pockets of powder.
4. Kosher Salt: 1/8 teaspoon. A tiny pinch of salt is the secret weapon. It cuts through the sugar and amplifies the floral and earthy notes of the cocoa.
5. Pure Vanilla Extract: 1 tablespoon (15ml). Added at the very end, vanilla provides a nostalgic aroma and rounds out the sharpness of the dark chocolate.
Mastering the Gloss: A Step-By-Step Visual Guide
Whisking the Foundation
In a small heavy-bottomed saucepan, combine your 1/2 cup (45g) of fine unsweetened cocoa powder and 1 cup (200g) of sugar. Use a balloon whisk to break up any large clumps of cocoa before adding liquid. This “dry whisking” step is crucial for a smooth Homemade Chocolate Syrup. Slowly pour in the 1 cup (240ml) of water and the pinch of salt. Whisk vigorously until the mixture looks like a thin, matte brown liquid with no visible powder floating on top.
The Simmer and Reduction Phase
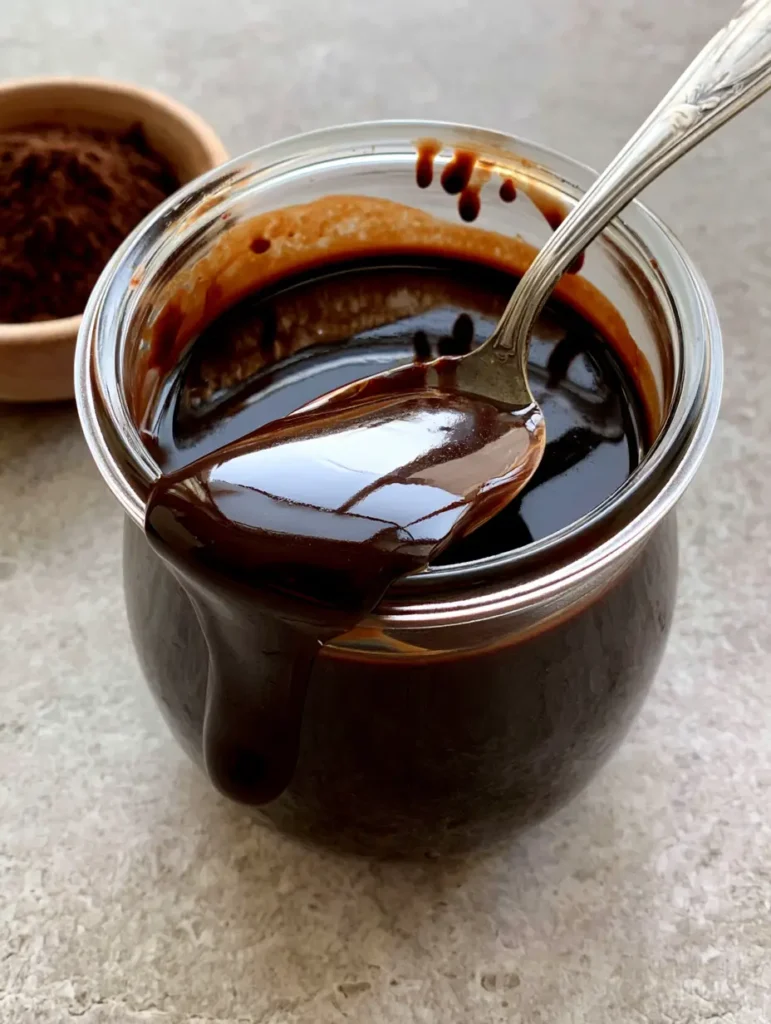
Place the saucepan over medium heat. You want to bring the mixture to a gentle boil, but do not walk away. As the sugar dissolves, the liquid will begin to transform from matte to glossy dark chocolate syrup. Once it reaches a boil, reduce the heat to low. Let it simmer for about 3 to 5 minutes. You are looking for “the ribbon stage”—when you lift the spoon, the syrup should fall in a smooth ribbon cascading back into the pot, leaving a brief trail on the surface.
Achieving the Mahogany Reflective Glow
The visual cue for readiness is the surface tension. The Homemade Chocolate Syrup should look like liquid glass. If you see tiny bubbles that don’t pop immediately, you have achieved the correct thickness. Remove the pan from the heat. This is when you stir in the 1 tablespoon (15ml) of pure vanilla extract. The scent will be incredible—a mix of dark chocolate and warm bean.
Cooling and Jarring
The syrup will look slightly thin while hot, but it thickens significantly as it cools. Pour the liquid into a clear glass jar—ideally a heritage-style jar to show off that deep color. Let it sit at room temperature for 30 minutes. You’ll notice small droplets of syrup may form on the inner rim of the glass; this is a sign of a perfectly concentrated, moisture-rich sauce.
Expert Tips for the Perfect Drizzle
- Sift the Cocoa: If your cocoa powder is particularly lumpy, sift it through a fine-mesh strainer before adding it to the pot. This guarantees a silk-like texture.
- Don’t Over-Boil: If you simmer for too long, the Homemade Chocolate Syrup will turn into a fudgy solid once refrigerated. Stop when it still looks pourable.
- The Salt Secret: Never skip the salt. It transforms the syrup from “sweet” to “gourmet.”
- Storage Vessel: Use glass rather than plastic. Glass doesn’t retain odors and allows you to gently microwave the jar if you want a warm drizzle for 4th of July dessert lasagna.
How to Store and Enjoy Your Creation
Your Homemade Chocolate Syrup should be kept in an airtight clear glass jar in the refrigerator. It will stay fresh and delicious for up to 3 weeks. Because this recipe uses real sugar and cocoa, it may thicken slightly more in the cold. Simply let it sit on the counter for 10 minutes or give it a 10-second zap in the microwave to restore that thick, smooth ribbon consistency.
Freezing: While possible, we don’t recommend freezing as the sugar can crystallize, ruining that highly reflective, viscous surface. Since it takes only 10 minutes to make, fresh is always best!
Creative Ways to Use Chocolate Syrup
While we love it on ice cream, this Homemade Chocolate Syrup is incredibly versatile. Stir it into cold milk for the best chocolate milk of your life, or use it as a dip for fresh strawberries. In fact, if you are serving a strawberry pecan chicken salad for lunch, a small bowl of fruit with this chocolate drizzle makes for the perfect light dessert follow-up.
You can also use it to rim cocktail glasses or as a decorative swirl on the plate for a peach and brie grilled cheese dessert variation. The dark mahogany color provides a stunning contrast against light-colored stoneware or neutral, light-grey textured stone countertops.
Frequently Asked Questions
Yes! This syrup is highly viscous and dissolves beautifully in hot liquids like coffee or steamed milk, making it perfect for homemade mochas.
Stored in an airtight glass jar, this syrup will stay fresh and flavorful for up to 3 weeks in the refrigerator.
When warm, it is slightly thinner, but once refrigerated, it achieves a perfect, thick viscosity that coats a spoon and creates beautiful ribbons over desserts.
For a dark, mahogany color and smooth flavor, use a high-quality Dutch-processed cocoa powder. Standard unsweetened cocoa powder also works well but will result in a slightly lighter color.
Graininess usually occurs if the sugar isn’t fully dissolved or if the cocoa powder wasn’t whisked into the cold water properly. Ensure you whisk thoroughly before heating and simmer until the liquid looks glossy and smooth.
The Best Homemade Chocolate Syrup Recipe
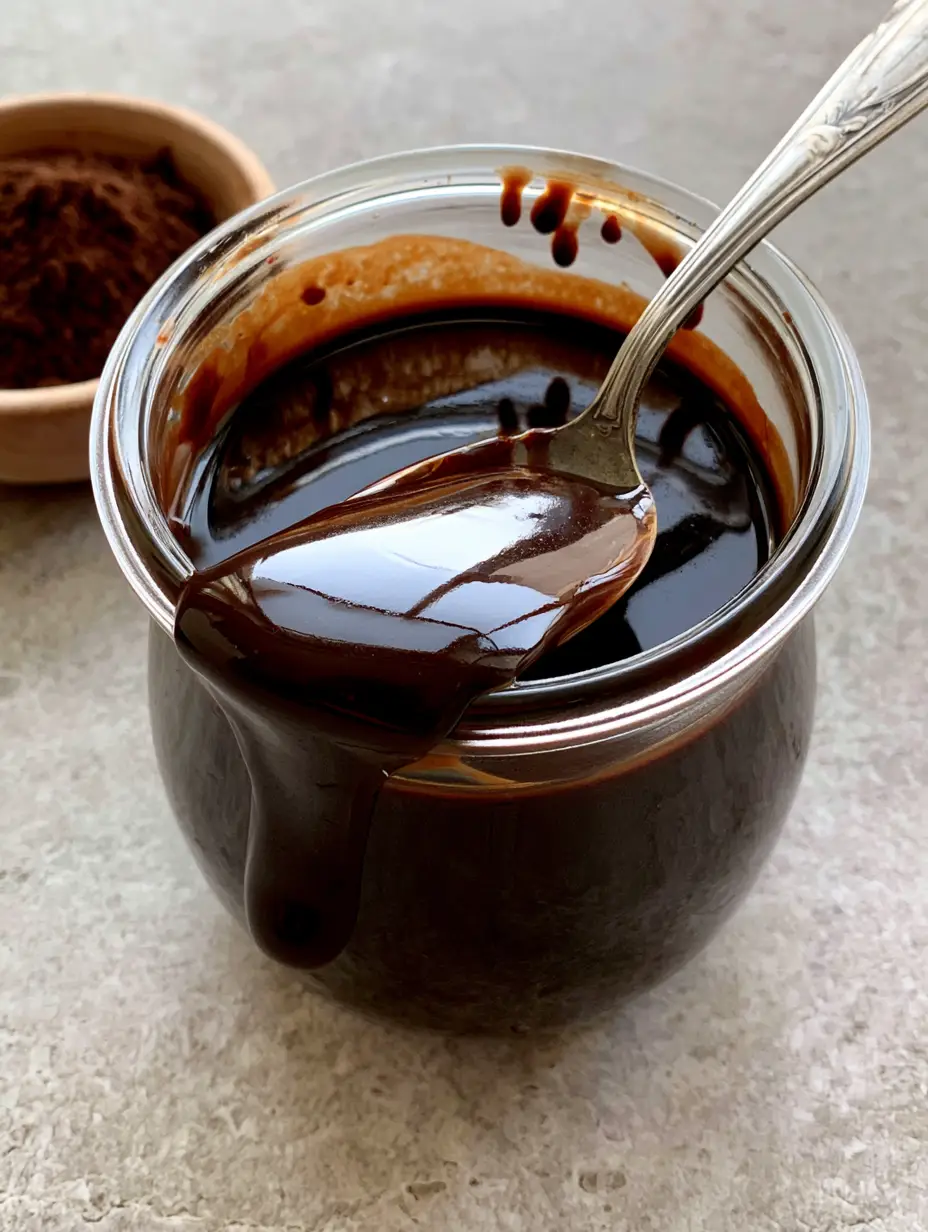
Homemade Chocolate Syrup: The Ultimate Glossy 5-Ingredient Recipe
Ingredients
Equipment
Method
- In a small saucepan, whisk together the fine unsweetened cocoa powder, sugar, and salt until no large lumps remain.
- Slowly whisk in the cold water until the mixture is a smooth, matte brown liquid.
- Place over medium heat and bring to a gentle boil. Reduce heat to low and simmer for 3-5 minutes until the syrup is glossy and thick enough to ribbon off a spoon.
- Remove from heat and stir in the vanilla extract. Pour into a clear glass jar and allow to cool. The syrup will thicken significantly as it reaches room temperature.
Notes
If the syrup becomes too thick in the fridge, microwave for 10 seconds to restore the viscous ribbon consistency.
Save This Recipe to Pinterest!
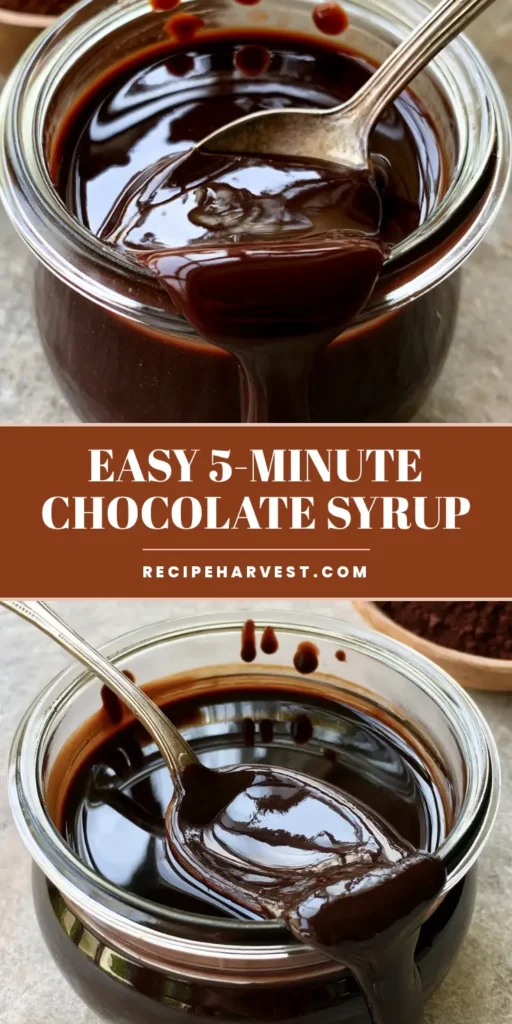
Do you want to keep this Homemade Chocolate Syrup recipe handy for your next sundae night? Click the “Save” button on the image below to pin it to your favorite dessert board on Pinterest! We love seeing your recreations, so please follow @RecipeHarvest for more visual culinary inspiration. If you make this glossy mahogany syrup, snap a photo and share it in the comments below. Don’t forget to leave a 5-star rating in the recipe card if you loved it!