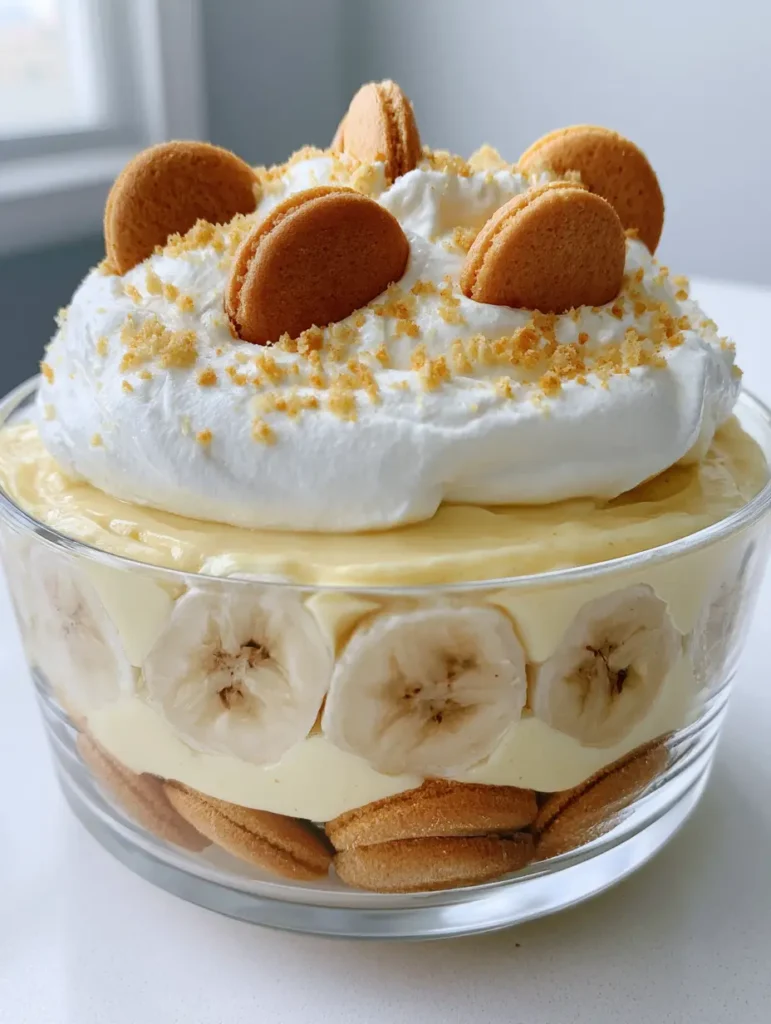
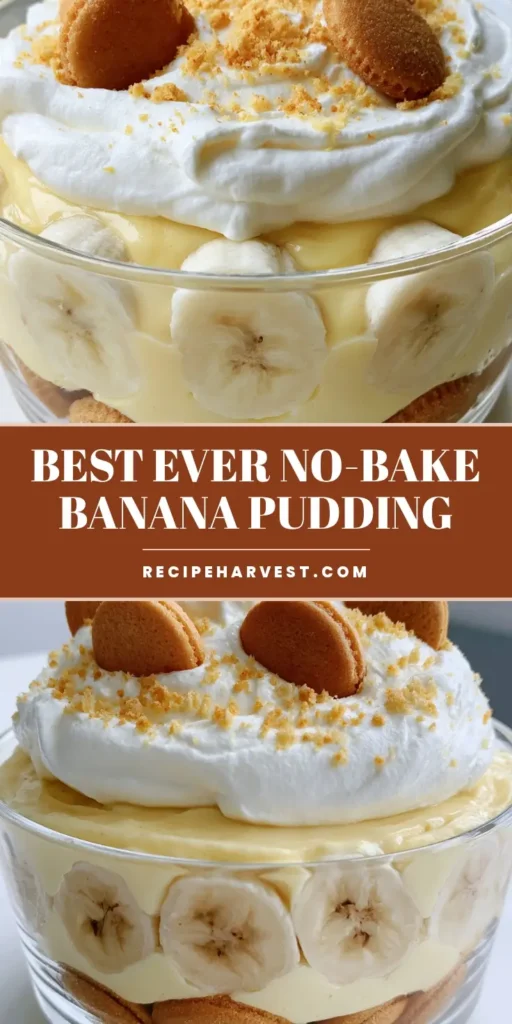
No-Bake Banana Pudding is the quintessential comfort dessert that brings a nostalgic smile to everyone’s face. Imagine digging your spoon through clouds of fluffy whipped cream into a silky, pale yellow banana custard, only to find the perfect crunch of a whole vanilla wafer and the sweetness of a fresh banana slice. This recipe isn’t just a dessert; it’s a visual masterpiece designed to be the star of your next gathering. Whether you are displaying it in a clear glass trifle bowl or individual mason jars, the distinct layers of golden wafers and smooth cream create an irresistible invitation to indulge.
Why This No-Bake Banana Pudding Is a Total Crowd-Pleaser
- Heavenly Textures: You get the perfect contrast between the smooth banana custard and the soft, cake-like bite of vanilla wafers that have softened just enough.
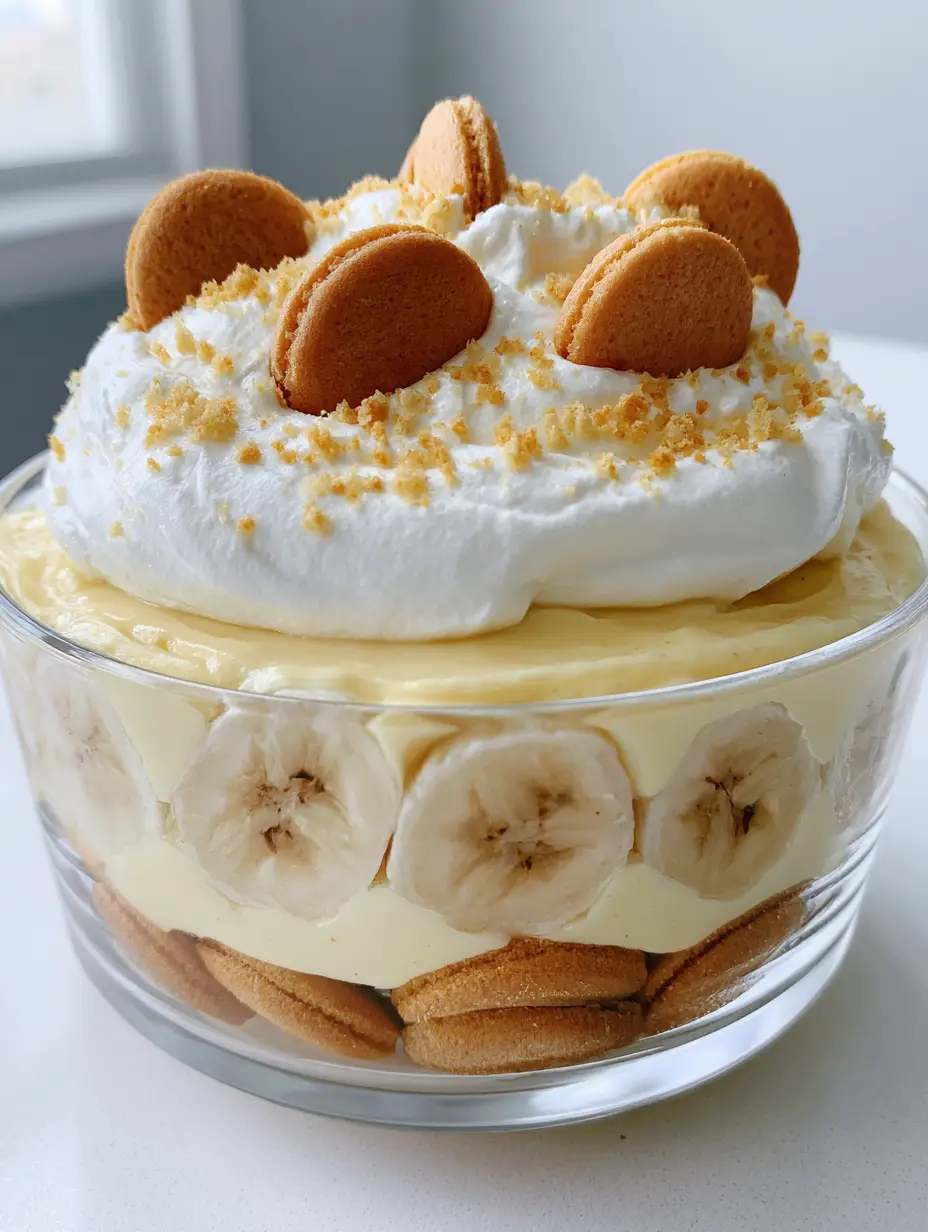
- Visual Showstopper: With freshly sliced bananas pressed against the glass and a crown of fluffy white whipped cream, it looks like it came straight from a high-end bakery.
- Zero Oven Time: This is a true No-Bake Banana Pudding, keeping your kitchen cool while delivering maximum flavor.
- Make-Ahead Magic: This dessert actually tastes better after a few hours in the fridge, making it the ultimate stress-free hosting recipe.
The Secret Ingredients for a Silky, Smooth Custard
To achieve that professional-grade pale yellow banana custard, we combine foundational ingredients that provide both stability and a melt-in-your-mouth feel. Using a mix of sweetened condensed milk and cold milk creates a rich base that far surpasses standard pudding. If you find yourself obsessed with these flavors, you absolutely must try my Banana Pudding Frosting for your next cake project!
Vanilla Wafers: You will need 1 box (11 oz / 312g) of whole vanilla wafers. These act as the structural “crust” layers. We also use crushed golden cookie crumbs for the final garnish to add a professional touch.
Instant Vanilla Pudding Mix: 1 package (5.1 oz / 144g). Using instant mix ensures the No-Bake Banana Pudding sets quickly and maintains its “smooth” profile without the risk of lumps from stovetop cooking.
Sweetened Condensed Milk: 1 can (14 oz / 396g). This is the secret to the creamy, dense texture that allows those beautiful layers to stay separated in your glass bowl.
Cold Whole Milk: 1.5 cups (360ml). The fat content in whole milk is essential for the smooth banana custard to reach its full potential.
Heavy Whipping Cream: 2 cups (480ml). We whip this into fluffy white whipped cream to fold into the custard and to use as the crowning glory on top.
Fresh Bananas: 5-6 large ripe bananas. Look for bananas with a few brown spots for maximum sweetness, but ensure they are still firm enough to create clean slices with visible seeds for that aesthetic appeal.
Step-By-Step Guide to Layering Your Masterpiece
1. Preparing the Creamy Custard Base
In a large mixing bowl, whisk together the sweetened condensed milk and cold milk until perfectly combined. Slowly sprinkle in the instant pudding mix. Whisk vigorously for 2 minutes until the mixture begins to thicken and takes on that signature pale yellow hue. Let it sit for 5 minutes to fully set. While the pudding sets, you might want to browse my recipe for Banana Pudding Fudge for another way to enjoy this flavor profile!
2. Folding in the Fluff
In a separate chilled bowl, beat your heavy whipping cream until stiff peaks form. Gently fold half of this fluffy white whipped cream into your pudding mixture. This technique transforms a heavy pudding into a light, smooth banana custard that feels like a cloud. Keep the other half of the whipped cream refrigerated for the final topping.
3. The Foundation: The Wafers and Bananas
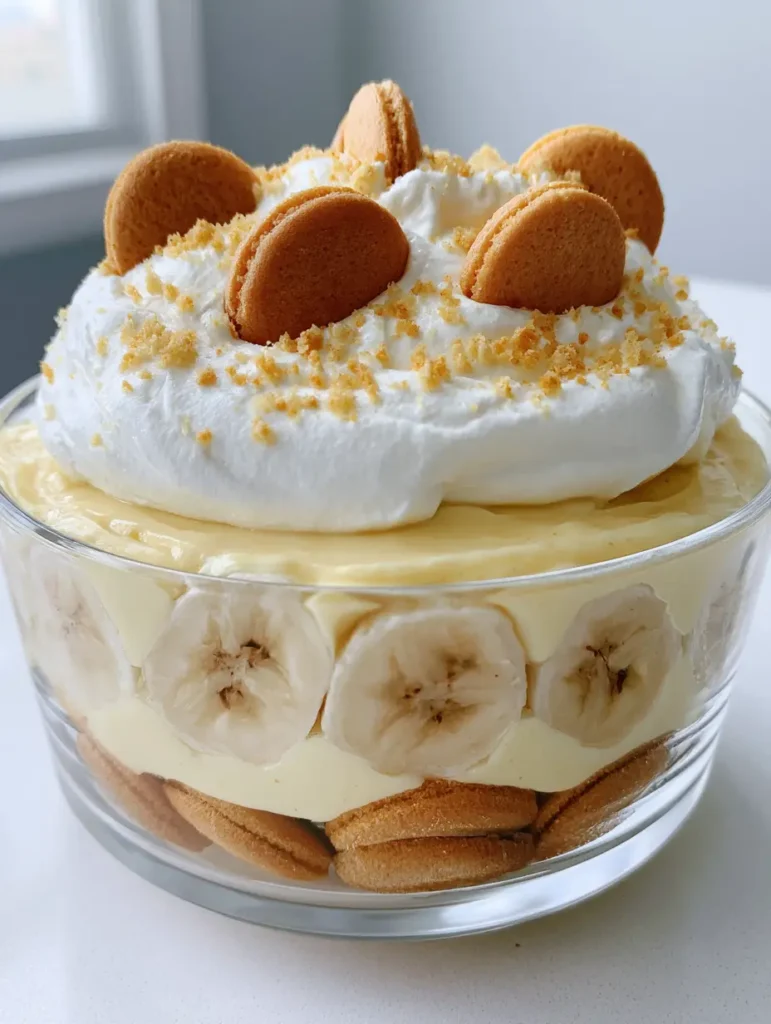
Grab your clear glass bowl. Start by placing a generous layer of whole vanilla wafers at the very bottom. This creates the “foundation” mentioned in our visual blueprint. Next, slice your bananas into 1/4 inch (0.6cm) rounds. To get that Pinterest-perfect look, press several slices of fresh, ripe bananas vertically against the side of the glass bowl so they are visible from the outside.
4. The Layering Sequence
Pour half of your smooth banana custard over the wafer base, ensuring it fills the gaps between the bananas pressed against the glass. Add another layer of whole vanilla wafers, followed by more banana slices. Top with the remaining custard. If you enjoy the layering process of desserts, my Coconut Rice Pudding Recipe offers a similarly satisfying experience!
5. The Grand Finale Garnish
Spread the remaining fluffy white whipped cream over the top of the final custard layer. Use a spatula to create soft peaks and swirls. For the finishing touch, garnish with a few whole vanilla wafers standing upright and a generous dusting of crushed golden cookie crumbs. This provides the texture and visual “pop” that makes this No-Bake Banana Pudding truly viral-worthy.
Expert Tips for the Best No-Bake Banana Pudding
- Prevent Browning: Toss your banana slices in a tiny bit of lemon juice or pineapple juice. This keeps those slices of fresh, ripe bananas looking bright and yellow for days.
- Chill Time is Crucial: Let the pudding chill for at least 4 hours, or ideally overnight. This allows the wafers to soften into a cake-like consistency.
- Consistency Check: Ensure your milk is ice-cold before mixing with the pudding powder to guarantee a smooth banana custard every time.
- Cookie Variation: If you run out of wafers, you can use shortbread cookies, which pair beautifully with the Banana Pudding Fluff Salad variations.
Storage and Serving Suggestions
This No-Bake Banana Pudding should always be stored in the refrigerator. Cover the glass bowl tightly with plastic wrap, ensuring the wrap doesn’t touch the fluffy white whipped cream peaks. It will stay fresh for up to 3 days. We do not recommend freezing this dish, as the fresh bananas will become mushy and the custard may separate upon thawing.
Serve this chilled in small glass dessert cups to show off the layers. It’s the perfect ending to a heavy meal like my One-Pan Chicken and Rice Bake or a fresh Classic Broccoli Salad.
Frequently Asked Questions
Yes! This is an excellent make-ahead dessert. It stays fresh and delicious in the refrigerator for up to 2-3 days, though the wafers will continue to soften over time.
Absolutely. While classic vanilla wafers are traditional, you can use shortbread cookies, Graham crackers, or even Chessmen cookies for a delicious twist on the texture.
For this specific no-bake recipe, instant pudding is recommended because it sets quickly and creates the right stability for layering. If you use Cook & Serve, you must allow it to cool completely before folding in the whipped cream.
To prevent browning, toss your sliced bananas in a little lemon juice or pineapple juice before layering. Additionally, ensuring the pudding and whipped cream completely cover the bananas helps prevent oxidation.
The pudding needs at least 4 hours to chill, but for the best results, let it sit overnight. This allows the vanilla wafers to absorb moisture and develop a soft, cake-like texture.
The Complete No-Bake Banana Pudding Recipe
No-Bake Banana Pudding: The Ultimate Easy Layered Dessert
Ingredients
Equipment
Method
- In a large bowl, whisk sweetened condensed milk and cold milk until combined.
- Whisk in instant pudding mix for 2 minutes until smooth and pale yellow. Let set for 5 minutes.
- Beat heavy cream until stiff peaks form. Fold half into the pudding custard.
- Place whole wafers at the bottom of a glass bowl. Press banana slices against the glass walls.
- Layer half the custard, more wafers, and bananas. Top with remaining custard.
- Spread remaining whipped cream on top. Garnish with whole wafers and crushed crumbs.
Notes
Use slightly under-ripe bananas to prevent them from becoming too mushy.
Join the RecipeHarvest Community!
If you loved making this No-Bake Banana Pudding, please let me know! Pin this recipe to your favorite dessert board on Pinterest so you never lose it. I would love to see your creations—snap a photo of your beautiful layers in your glass bowl and share it in the comments below! Don’t forget to follow RecipeHarvest for more easy, crowd-pleasing recipes and leave a 5-star rating if this pudding hit the spot!