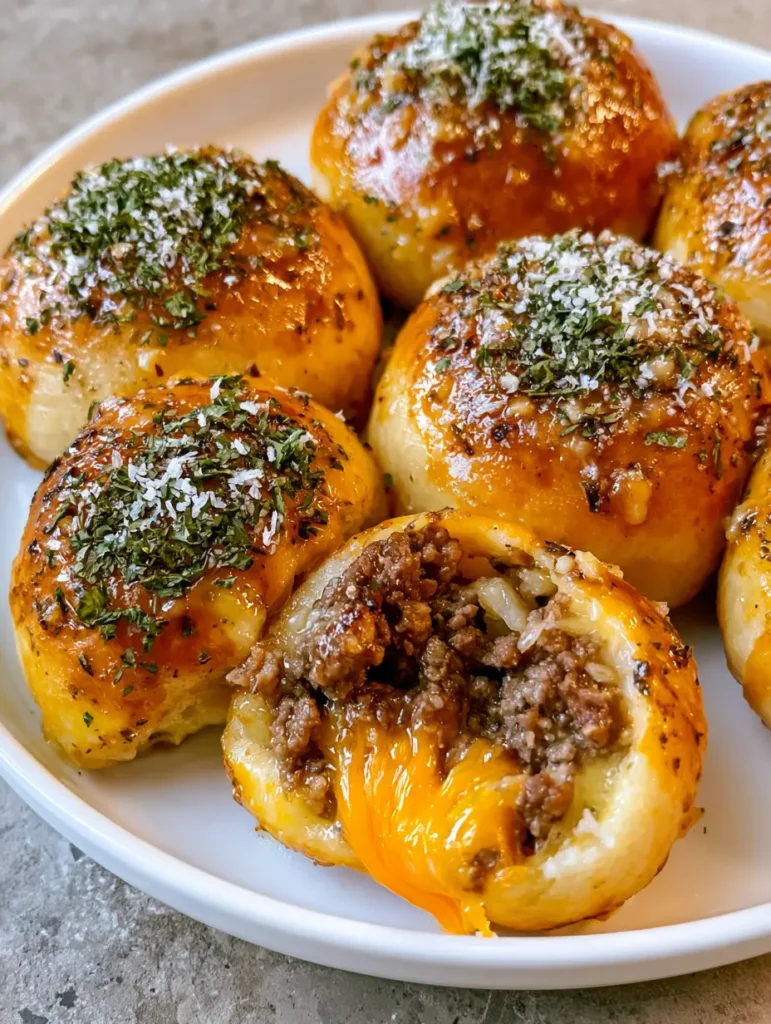
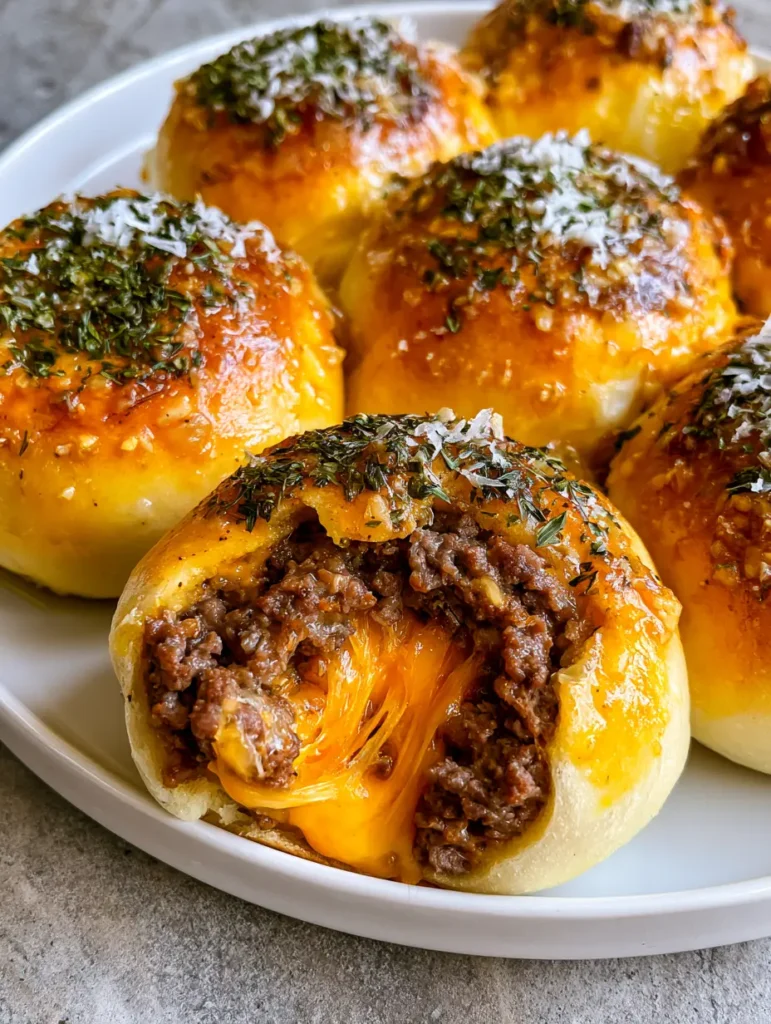
Cheeseburger Bombs are the viral, golden-brown sensation that your dinner rotation has been missing. Imagine a soft, pillowy dough ball glistening with melted garlic butter, hiding a treasure trove of seasoned ground beef and molten, stringy orange cheddar cheese. These Cheeseburger Bombs aren’t just a meal; they are a visual and sensory experience that brings the comfort of a classic burger into a portable, pull-apart masterpiece.
Whether you are looking for the perfect game-day appetizer or a quick weeknight dinner that the kids will actually finish, these stuffed rolls deliver. The combination of the savory beef, the sharp tang of cheddar, and the aromatic punch of minced garlic makes these Cheeseburger Bombs an absolute crowd-pleaser. Once you see that cheese pull, you’ll understand why this recipe is taking over Pinterest boards everywhere.
Why You Will Crave These Cheesy Stuffed Rolls
- Golden-Brown Perfection: The exterior features a stunning, glossy crust that shatters slightly before revealing the soft dough underneath.
- Explosive Flavor Profile: A rich glaze of melted garlic butter, minced garlic, and dried parsley flakes provides an aromatic punch to every bite.
- The Ultimate Cheese Pull: We use sharp orange cheddar to ensure a vibrant, stringy core that looks as good as it tastes.
- Textural Contrast: You get the crunch of the parmesan, the softness of the dough, and the crumbly, juicy texture of seasoned ground beef all in one.
Essential Ingredients for Your Stuffed Cheeseburger Bombs
To create the perfect Cheeseburger Bombs, you need ingredients that balance moisture, fat, and structural integrity. Here is what you need to gather for your kitchen counter.
Ground Beef: Use 1 lb (454g) of lean ground beef (80/20 or 90/10). This provides the essential meaty base without making the dough too greasy. The beef should be browned until crumbly and seasoned well with salt and pepper.
Sharp Cheddar Cheese: You will need 6 oz (170g) of sharp cheddar, preferably cut into small cubes rather than shredded. Cubes create a “molten core” effect that shredded cheese can’t quite match in these Cheeseburger Bombs.
Refrigerated Biscuit Dough: For the sake of ease and that perfect golden-brown finish, two 16 oz (454g) cans of flaky layers biscuit dough work best. If you’re a purist, a standard yeast-based pizza dough also functions beautifully.
Salted Butter: 4 tbsp (56g) of melted butter forms the base of our glossy glaze. It carries the garlic flavor and helps the parsley and parmesan adhere to the surface.
Aromatics and Toppings: You will need 1 tbsp (15ml) of freshly minced garlic, 1 tsp (1g) of dried parsley flakes, and 2 tbsp (10g) of finely grated parmesan cheese. These create the signature “Visual Recipe Blueprint” look mentioned in our guide.
If you love these savory flavors, you might also enjoy our Creamy Garlic Chicken Thighs for another garlic-forward dinner option.
How to Make Cheeseburger Bombs Step-by-Step
Creating these Cheeseburger Bombs is a simple process, but following the visual and sensory cues is key to ensuring they look just like the professional photos.
Step 1: Searing the Savory Beef Filling
Start by heating a large skillet over medium-high heat. Add your 1 lb (454g) of ground beef. Use a wooden spoon to break the meat into very fine crumbles. You want a consistent texture so the Cheeseburger Bombs are easy to bite through.
Cook until the beef is fully browned and no pink remains. Drain the excess fat thoroughly. This step is critical; if the beef is too oily, the dough will become soggy and fail to seal. Season generously with salt, pepper, and a dash of onion powder if desired.
Step 2: Prepping the Dough and Filling
Preheat your oven to 375°F (190°C). Flatten each biscuit piece into a 4-inch (10cm) circle. Place about 1 tbsp (15g) of the cooked beef into the center of the dough. Top the beef with a single cube of sharp orange cheddar cheese.
Carefully pull the edges of the dough over the filling. Pinch the seams tightly to seal. Roll the ball between your palms to create a smooth, round shape. Place the Cheeseburger Bombs seam-side down on a parchment-lined baking sheet.
Step 3: The Golden-Brown Bake
Slide the baking sheet into the center rack of the oven. Bake for 12-15 minutes. You are looking for a specific visual cue: the dough should be a light golden-brown, and you may see a tiny bit of cheese starting to bubble near the seams. While they bake, prepare your garlic butter glaze.
Step 4: The Signature Garlic Butter Glaze
In a small microwave-safe bowl, melt your 4 tbsp (56g) of butter. Stir in the minced garlic and dried parsley flakes. The smell should be intensely aromatic. Once the Cheeseburger Bombs come out of the oven, immediately brush them generously with this mixture.
While the butter is still wet and glistening, sprinkle the finely grated parmesan cheese over the top. The parmesan should stick to the glossy butter, creating a beautiful white-on-gold contrast against the green parsley flakes.
For a perfect side dish to accompany these, try our Classic Broccoli Salad to add a fresh, crunchy contrast to the warm rolls.
Expert Tips for Success
- Seal the Seams: Use a tiny bit of water on your fingertip to dampen the edges of the dough if it isn’t sticking. A tight seal prevents the cheese from leaking out during the bake.
- Cold Cheese is Better: Use cold cubes of cheddar. This ensures the cheese melts at the same rate the dough bakes, preventing a “hollow” bomb.
- Fresh Garlic vs. Powder: For the best visual impact, use freshly minced garlic. It creates those visible “specks” on the crust that make the Cheeseburger Bombs look artisanal.
- Don’t Overfill: It is tempting to pack in the beef, but overfilling will cause the dough to burst. Stick to the 1 tablespoon limit!
Storage, Reheating & Freezing
If you happen to have leftovers, these Cheeseburger Bombs store remarkably well. Place them in an airtight container and refrigerate for up to 3 days. To maintain the crispy exterior, reheat them in an air fryer at 350°F (175°C) for 3-5 minutes.
To freeze, allow the baked bombs to cool completely. Place them on a baking sheet in the freezer for one hour, then transfer to a freezer-safe bag. They will stay fresh for up to 2 months. You can reheat them directly from frozen in the oven at 350°F (175°C) for about 15 minutes.
What to Serve With Cheeseburger Bombs
While these are a meal on their own, pairing them with the right sides can elevate the experience. A dipping sauce is almost mandatory. We highly recommend a side of Cajun Garlic Butter Sauce (coming soon) for an extra kick of spice and richness.
If you are serving these as a party appetizer, consider adding a bowl of Italian Grinder Tortellini Salad to the table. The acidic dressing of the salad cuts through the richness of the cheeseburger filling perfectly.
Frequently Asked Questions
Yes! You can assemble the bombs and keep them refrigerated for up to 4 hours before baking. Brush with the garlic butter only after they come out of the oven.
Absolutely! Ground turkey or ground chicken are great lean alternatives. Just ensure you season them well, as they have less natural fat than beef.
The secret is brushing the melted garlic butter on immediately after the bombs leave the oven while they are still steaming hot.
Refrigerated ‘flaky layers’ biscuit dough is the easiest and most consistent. However, frozen bread dough (thawed) or homemade pizza dough also works great.
Leaking usually happens if the seams aren’t pinched tightly enough or if there is too much moisture in the beef filling. Ensure the beef is well-drained and the dough is dry when sealing.
The Best Homemade Cheeseburger Bombs Recipe
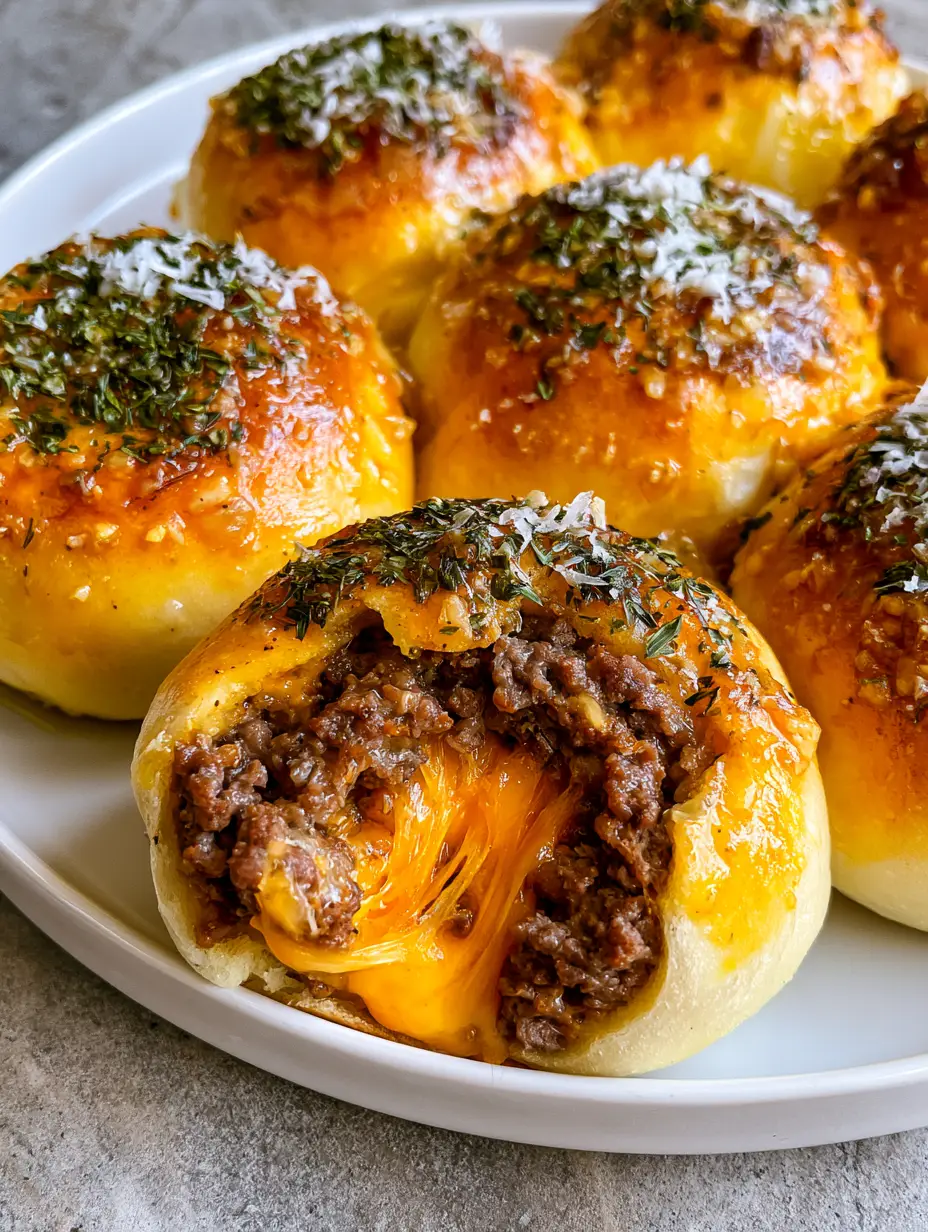
Cheeseburger Bombs: The Ultimate Garlic Butter Stuffed Burger Bites
Ingredients
Equipment
Method
- In a large skillet over medium-high heat, brown the ground beef until crumbly and no pink remains. Drain excess fat thoroughly and season with salt and pepper.
- Flatten each biscuit into a 4-inch circle. Place 1 tablespoon of beef and a cube of cheddar in the center. Pinch seams tightly to seal.
- Place seam-side down on a baking sheet. Bake at 375°F (190°C) for 12-15 minutes until golden brown.
- Mix melted butter, garlic, and parsley. Brush over hot bombs and sprinkle with parmesan cheese.
Notes
Use cold cheese cubes for a better melt.
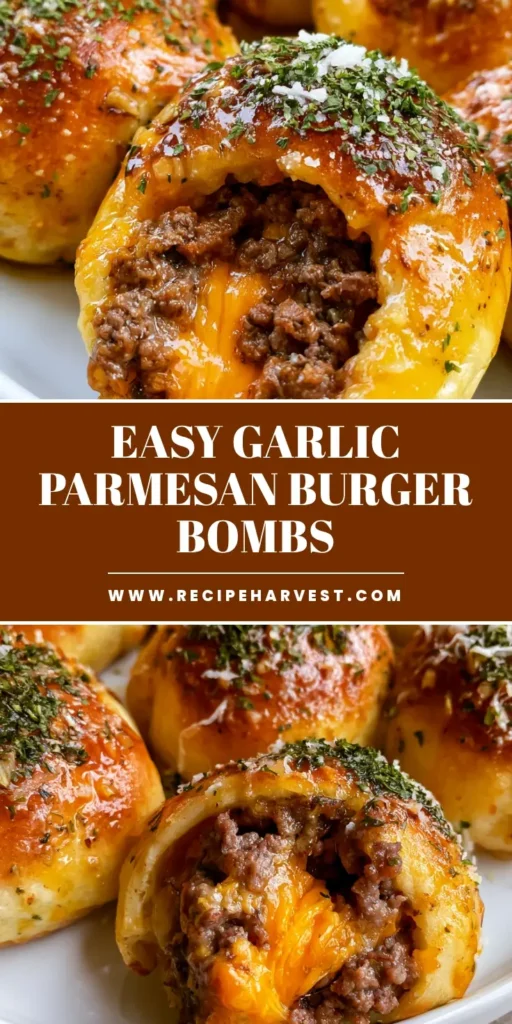
Save to Pinterest & Share Your Results!
Did these Cheeseburger Bombs disappear from your plate in seconds? We want to see your results! Save this recipe to your favorite Pinterest board so you never lose it. If you made a batch, snap a photo and share it in the comments below.
Don’t forget to follow RecipeHarvest for more viral recipes and easy dinner inspiration. If you loved this recipe, please leave us a 5-star rating in the recipe card above. Happy cooking!