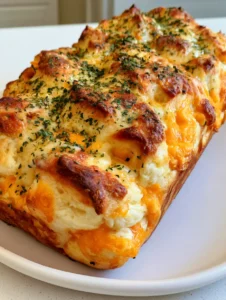
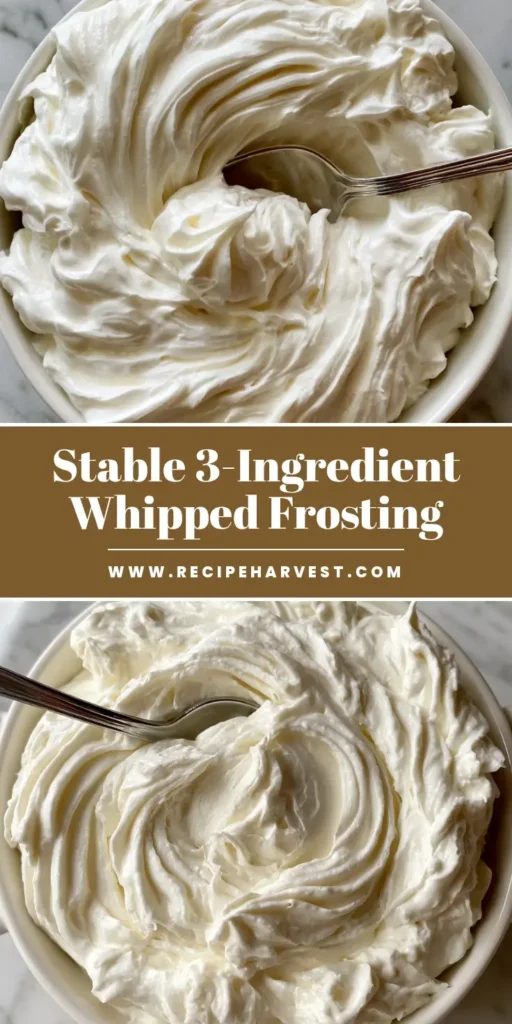
Whipped Cream Frosting is the ethereal, cloud-like topping every baker needs in their repertoire. Imagine a frosting so thick, glossy, and white that it holds deep, circular swirls and sharp, defined ridges without ever collapsing. This isn’t just a simple topping; it is a stable, professional-grade finish that transforms a basic cake into a bakery-style masterpiece. Whether you are filling Boston Cream Pie Cookies or layering a decadent sponge, this recipe delivers the perfect stiff peaks every single time.
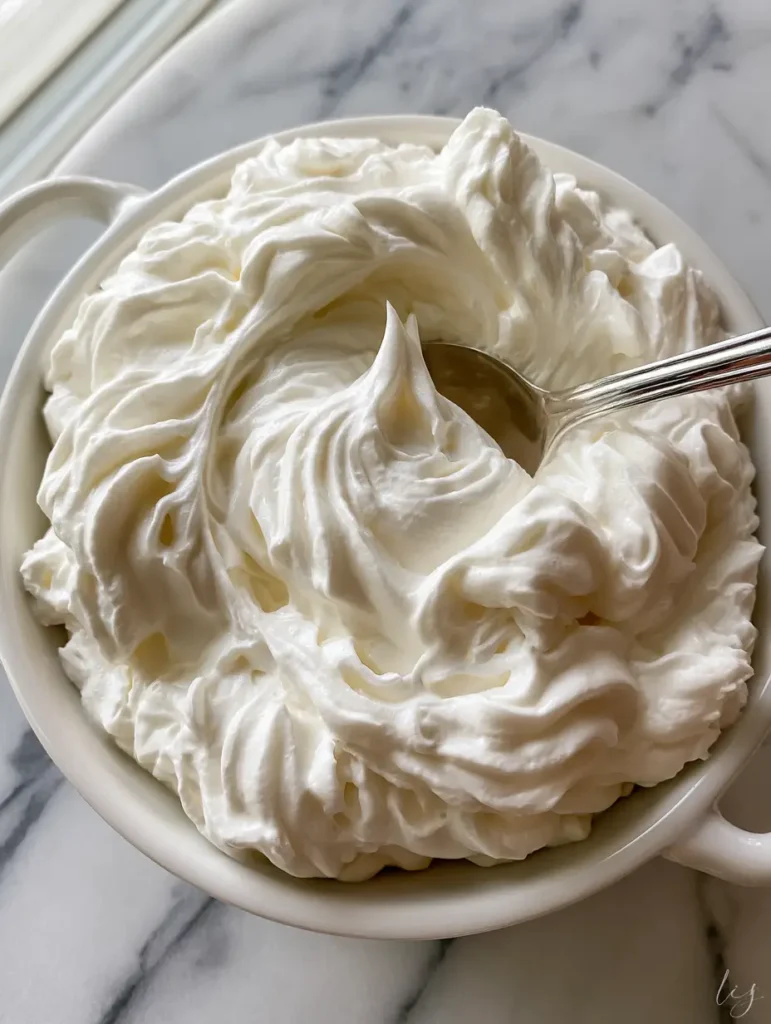
The beauty of a true Whipped Cream Frosting lies in its simplicity and texture. When you dip a polished silver spoon into a white ceramic bowl filled with this cream, you should feel a slight resistance—a sign of a perfectly aerated structure. This guide will walk you through the culinary science of fat globules and temperature control to ensure your frosting stays stable, even in room temperature settings, making it the ideal companion for your favorite Banana Pudding Frosting variations.
Why This Is The Only Whipped Cream Frosting You’ll Ever Need
- Unbeatable Stability: Unlike standard whipped cream that weeps after an hour, this version maintains stiff peaks and sharp definition for hours.
- High-Gloss Finish: The inclusion of powdered sugar provides a glossy white sheen that looks stunning under soft, natural daylight.
- Perfect Pipeability: You can create deep, circular swirls and intricate decorations that won’t lose their shape on your cakes or cupcakes.
- Clean Ingredient Profile: Only three essential ingredients are needed to achieve a professional result that beats any store-bought tub.
The Essential Triple-Threat Ingredients for Thick Frosting
To achieve that iconic thick, glossy white whipped cream frosting, you must start with the highest quality components. Each ingredient plays a structural role in the final chemistry of the aeration process.
1. Heavy Whipping Cream: 2 cups (480ml).
You must use cream with at least 36% milk fat. The fat is what creates the “web” that traps air, resulting in the thick texture we see in the white ceramic ramekin.
2. Powdered Sugar: 1/2 cup (60g).
Also known as confectioners’ sugar, this contains a small amount of cornstarch. This starch acts as a natural stabilizer, helping the Whipped Cream Frosting hold its stiff peaks without melting.
3. Pure Vanilla Extract: 1 teaspoon (5ml).
This provides the floral, aromatic backnote. For a purely glossy white appearance, you can use clear vanilla, though pure Madagascar vanilla offers the best flavor profile.
For those looking to experiment with flavors, this base is incredibly versatile. You could even fold in a little Cowboy Cream Cheese for a tangy twist or use it as a light topping for Peach Cobbler Cheesecake Donuts.
Step-by-Step Mastery: How to Achieve Thick, Glossy Swirls
Phase 1: The Critical Chill Factor
Before you begin, place your white ceramic bowl and your whisk attachment in the freezer for at least 15 minutes. Whipped Cream Frosting relies on cold fat molecules; if the cream gets too warm, the fat will soften, and the air bubbles will collapse, leaving you with a liquid mess rather than stiff peaks.
Phase 2: Initial Aeration
Pour the chilled 2 cups (480ml) of heavy cream into the frozen bowl. Start your mixer on a low speed to break up the proteins, then gradually increase to medium-high. You are looking for “soft tracks” to appear in the liquid. This is the foundation of your thick, glossy texture.
Phase 3: Incorporating the Stabilizers
Once the cream begins to thicken slightly, stop the mixer. Sift in the 1/2 cup (60g) of powdered sugar and add the 1 teaspoon (5ml) of vanilla. Sifting is vital to ensure there are no lumps in your glossy white whipped cream frosting, as even a small grain of sugar can disrupt the visual smoothness.
Phase 4: Achieving Defined Ridges and Stiff Peaks
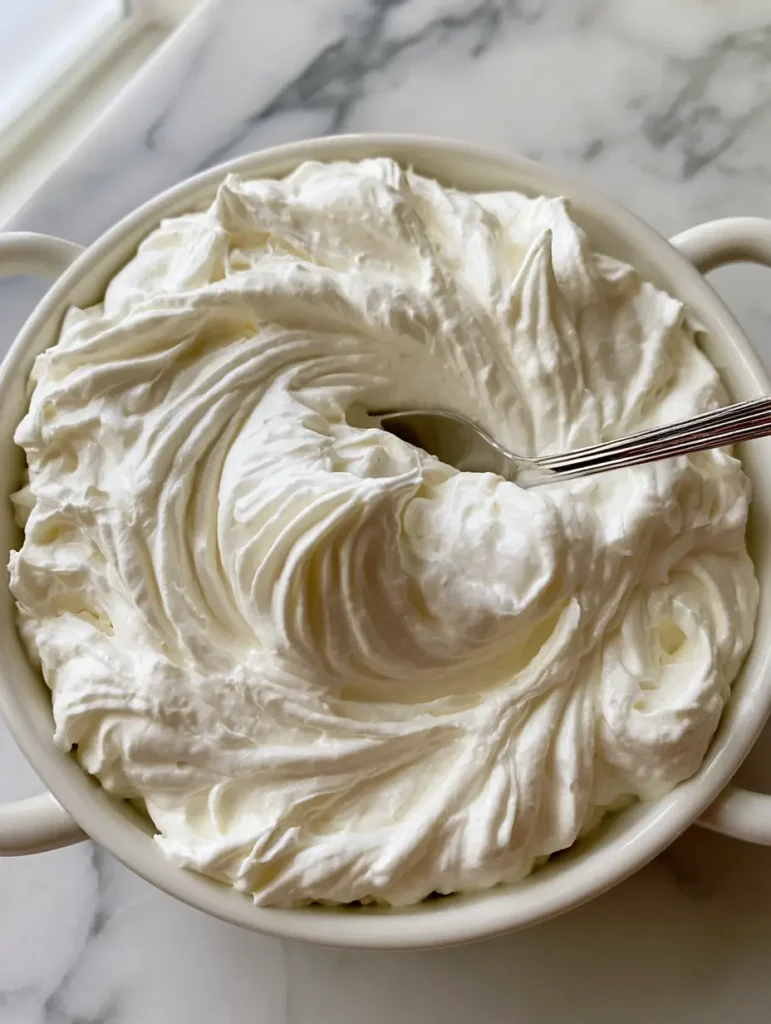
Continue whisking on medium-high speed. Watch the cream closely. You will see deep, circular swirls forming behind the whisk. The Visual & Sensory Cues are essential here: the cream will transition from a matte look to a thick, glossy finish. Stop as soon as the ridges remain sharp and defined when you lift the whisk. The frosting should look exactly like the cream styled in a white ceramic bowl with two small side handles.
Expert Tips for Bakery-Quality Frosting
- Don’t Over-Whisk: There is a fine line between stiff peaks and butter. If the cream looks grainy, you have gone too far.
- Sift Your Sugar: Always sift the powdered sugar to maintain that smooth and airy texture shown on the marble surface.
- Use a Metal or Ceramic Bowl: These materials hold the cold better than plastic, ensuring the Whipped Cream Frosting stays chilled during the whipping process.
- Flavor Infusions: If you want a deeper flavor, consider adding a touch of Honey Buttercream Frosting (coming soon) techniques to your repertoire.
Storage, Reheating & Freezing
Whipped Cream Frosting is best used immediately for piping. However, if you have leftovers, store them in an airtight container in the back of the refrigerator for up to 24 hours. If it loses some of its thick volume, simply give it a quick 30-second whisk by hand with a silver spoon to revive the stiff peaks.
Do not freeze this frosting as a standalone item, as the ice crystals will break the fat emulsion. However, cakes frosted with this cream can be frozen for up to one month if wrapped tightly.
What to Serve With Whipped Cream Frosting
This frosting is the ultimate chameleon in the kitchen. It pairs beautifully with light, fruit-based desserts like Bavarian Cream Recipe or heavy, decadent treats. Try dolloping a generous amount onto Chocolate Cream Pie Bars (coming soon) for a beautiful color contrast.
For a show-stopping brunch, use it as a filling for crepes or a topping for Belgian waffles. The glossy white finish looks incredible against the golden-brown crust of fresh pastries.
Frequently Asked Questions
Yes, you can make it up to 24 hours in advance. Keep it in an airtight container in the refrigerator. If it softens, a few whisks with a spoon or whisk will bring it back to its thick, glossy state.
Absolutely. Chilled equipment keeps the fat molecules in the heavy cream solid, which is necessary to trap air effectively and achieve a high-volume, thick frosting.
The secret to stability is using powdered sugar, which contains cornstarch. The cornstarch acts as a stabilizer, helping the frosting maintain stiff peaks and preventing it from weeping at room temperature.
Graininess occurs when the cream is over-whisked, causing the fat to separate into butter. To avoid this, stop whisking as soon as the ridges become sharp and defined.
The Ultimate Whipped Cream Frosting Recipe Card
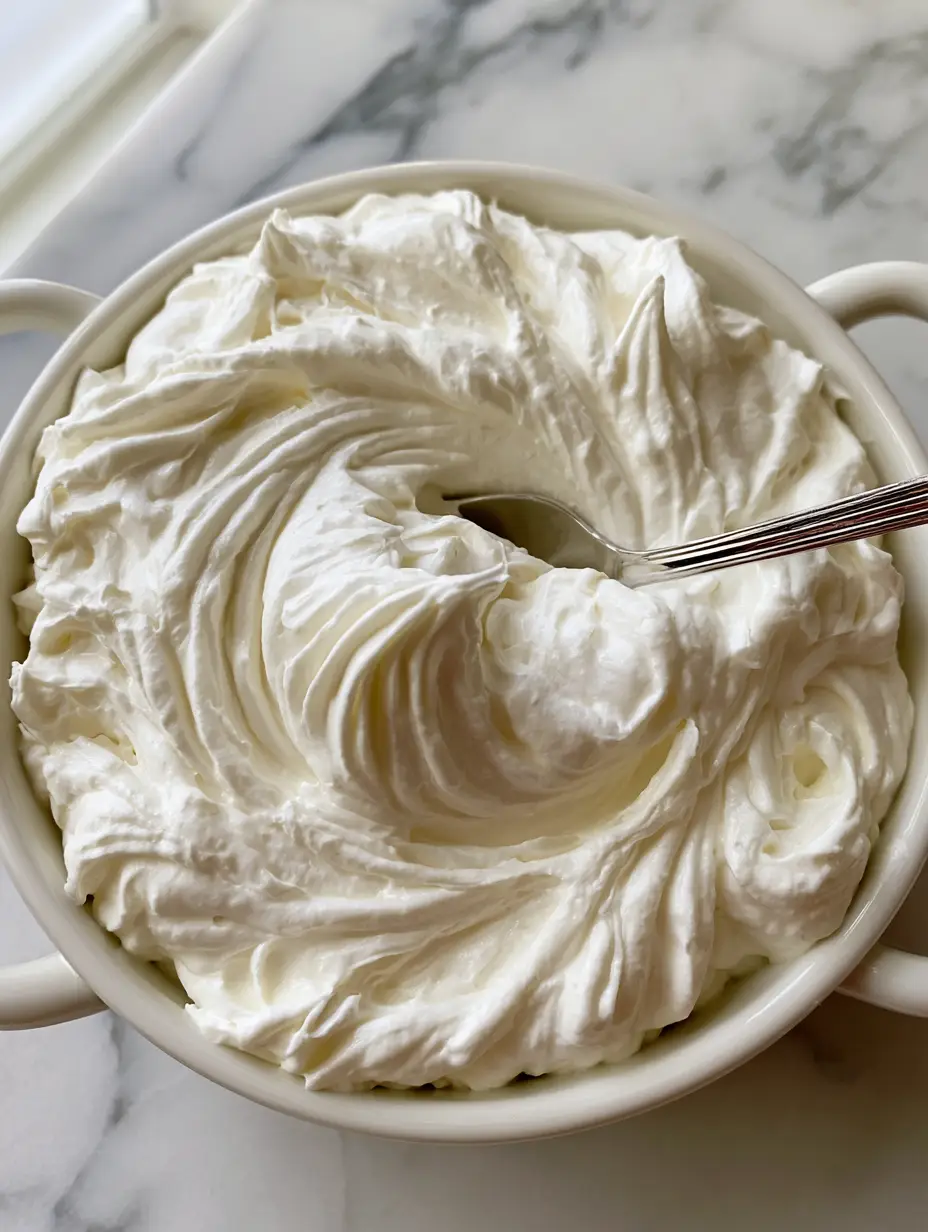
Whipped Cream Frosting: The Ultimate Stable 3-Ingredient Recipe
Ingredients
Equipment
Method
- Place your mixing bowl and whisk attachment in the freezer for 15 minutes before starting.
- Pour cold heavy cream into the bowl. Whisk on medium-high until the cream begins to thicken and show soft tracks.
- Stop the mixer and add sifted powdered sugar and vanilla extract.
- Continue whisking until the frosting is thick, glossy, and holds stiff peaks with defined ridges.
Notes
Sift the powdered sugar to ensure a smooth, glossy finish without lumps.
Join the RecipeHarvest Community!
Did your Whipped Cream Frosting turn out with those perfect stiff peaks? We want to see your thick, glossy white creations! Save this recipe to your Pinterest boards so you never lose it, and follow @RecipeHarvest for more professional baking secrets.
Please leave a 5-star rating in the recipe card below and share a photo of your frosting in the comments. Whether it’s sitting in a white ceramic ramekin or piped onto a massive layer cake, your results inspire our entire community of home cooks!