There is nothing quite like the sensory experience of a fresh Sourdough Focaccia Bread emerging from the oven. If you have been searching for that elusive recipe that yields a thick, pillow-soft interior protected by a vibrant golden-brown, shattering crust, you have arrived. This recipe celebrates the marriage of a high-hydration sourdough dough and the rich, fruity notes of extra virgin olive oil. We aren’t just making bread; we are creating a canvas of deep dimples and large, glassy air bubbles that are the hallmark of a master-level ferment. Whether you are a seasoned baker or just starting your wild yeast journey, this guide will show you how to achieve professional results using a handheld smartphone photo-worthy technique right in your home kitchen.
Why This Sourdough Focaccia Bread Is a Total Game Changer
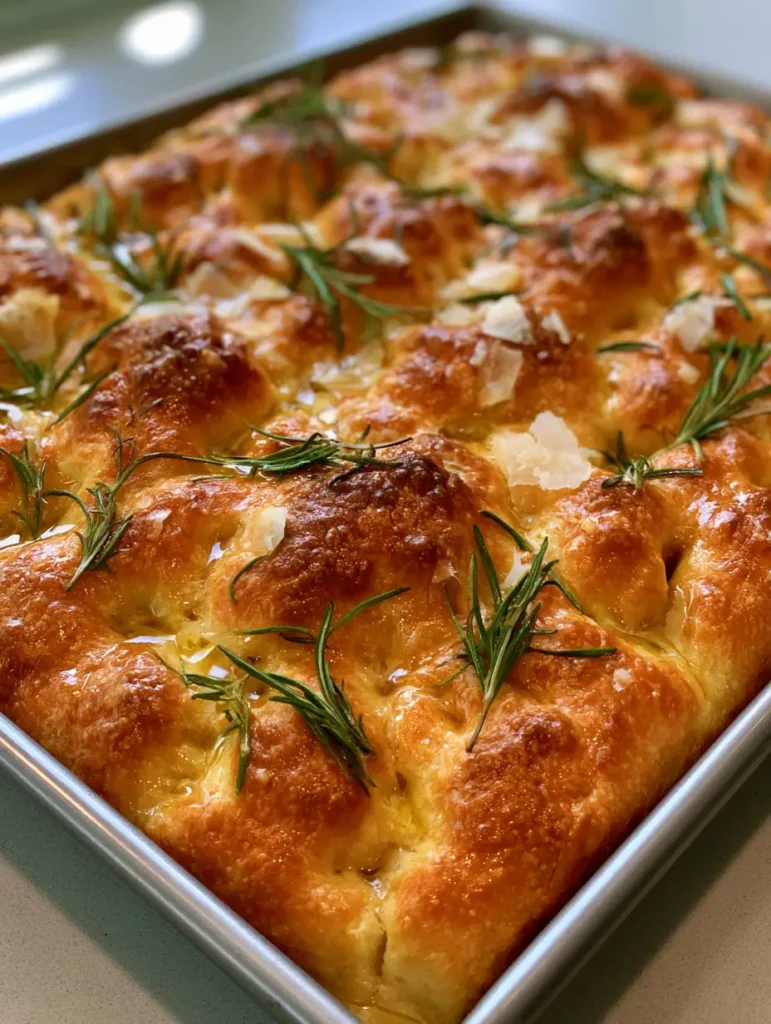
- The Crusted Crunch: A generous layer of olive oil fries the bottom and edges of the dough in a rectangular metal pan, creating a deep golden-brown exterior.
- Glassy Air Bubbles: Thanks to a high-hydration formula, the interior is filled with massive, fermented air pockets that are as light as air.
- Aromatic Toppings: Fresh green rosemary needles and translucent flakes of sea salt provide a savory punch that cuts through the richness of the dough.
- Visual Masterpiece: The deep dimples and glistening surface make this the most “saveable” recipe on your Pinterest boards.
When you finish this bake, the results will look exactly like a high-end bakery display. If you love impressive bakes, you might also want to try these banana bread cookies for a sweeter twist on classic flavors.
Essential Pantry Staples for Focaccia Greatness
To achieve the perfect Sourdough Focaccia Bread, the quality of your ingredients matters just as much as your technique. Each component plays a vital role in the chemical reaction that leads to those iconic bubbles.
Active Sourdough Starter: This is your engine. Use a bubbly, recently fed starter (100% hydration) to ensure a strong rise and that signature tang. If your starter is sluggish, your bubbles will be too.
Bread Flour: Use a high-protein bread flour (approx. 12.5% protein) to provide the strength needed to hold onto those large fermented air bubbles without collapsing.
Extra Virgin Olive Oil: Do not skimp here. You need enough oil to practically submerge the bottom of the dough. This is what creates the “fried” texture of the crust.
Fresh Rosemary: Unlike dried herbs, fresh rosemary needles release oils during the bake that infuse the entire loaf with an earthy aroma.
Flaky Sea Salt: Use large, translucent flakes (like Maldon) to provide a localized burst of saltiness and a beautiful crystalline visual on the glistening surface.
Looking for a savory dinner to pair with this bread? Our street corn chicken casserole is a fan favorite that loves a side of fresh bread.
The Step-by-Step Blueprint for Bubbly Success
Phase 1: Mixing and Autolyse
In a large glass bowl, combine 500g (approx. 4 cups) of bread flour with 375ml (1.5 cups + 1 tbsp) of warm water. Mix until no dry flour remains. Let this rest for 30 minutes. This autolyse phase allows the flour to hydrate fully, making the dough easier to work with during the stretch and fold stages.
Phase 2: Adding the Culture and Salt
Add 100g (approx. 1/2 cup) of active sourdough starter and 10g (2 tsp) of fine sea salt to the dough. Using wet hands, pinch and squeeze the dough to incorporate the starter. You want the Sourdough Focaccia Bread dough to feel extremely wet and sticky—this high hydration is the secret to the glassy bubbles seen in professional bakes.
Phase 3: The Bulk Fermentation & Stretch and Folds
Over the next 2 hours, perform 4 sets of “stretch and folds” every 30 minutes. Reach under one side of the dough, pull it up high, and fold it over itself. Rotate the bowl and repeat 4 times per set. You will notice the dough transforming from a shaggy mess into a smooth, elastic masterpiece. After the final fold, cover and let sit at room temperature until it has increased in volume by about 50% and shows visible bubbles on the surface.
Phase 4: The Cold Proof (The Flavor Secret)
Transfer the dough into a heavily oiled rectangular metal baking pan. Do not try to stretch it to the corners yet. Cover tightly and place in the refrigerator for 12 to 24 hours. This cold ferment develops the complex flavor and strengthens the gluten structure, ensuring the Sourdough Focaccia Bread has that perfect chewy-yet-soft interior.
Phase 5: Dimpling and Topping
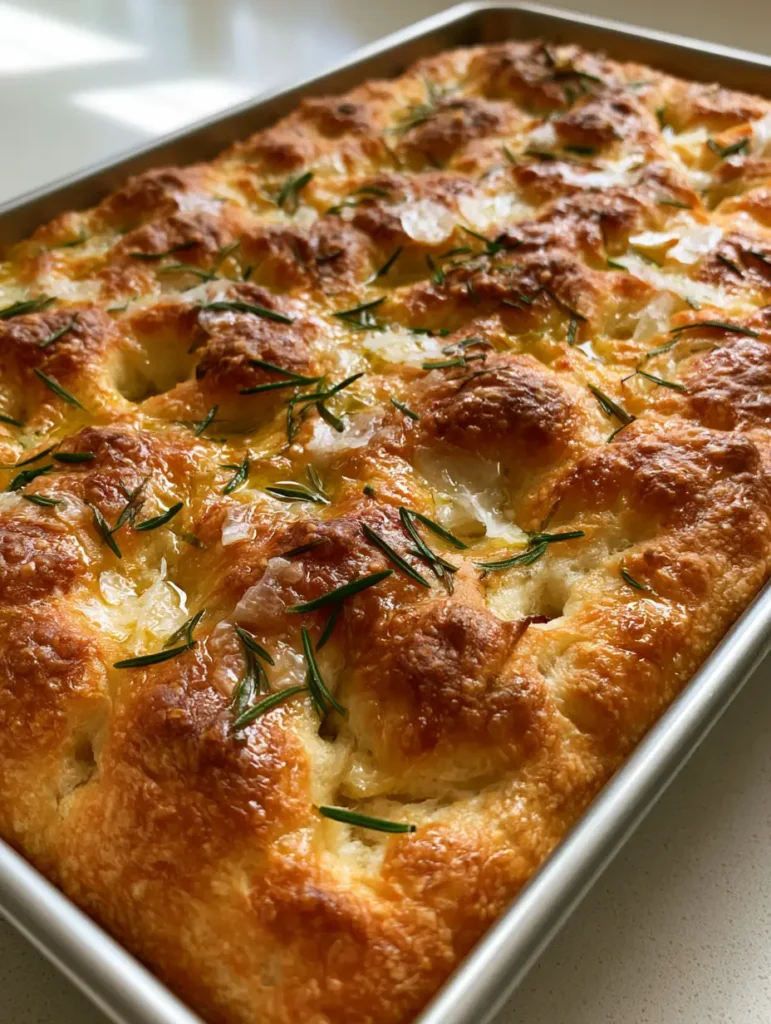
Remove the pan from the fridge and let it sit in a warm spot for 2-4 hours until the dough is jiggly and reaches the corners. The Dimpling Moment: Drizzle 2-3 tablespoons of olive oil over the top. Using all ten fingers, press deeply into the dough until you feel the bottom of the pan. You should see large, glassy air bubbles rising to the surface. Scatter your fresh rosemary needles and flaky sea salt generously over the glistening top.
Phase 6: The Golden Bake
Preheat your oven to 425°F (220°C). Slide the pan onto the middle rack. Bake for 25-30 minutes. You are looking for a vibrant golden-brown crust and edges that have pulled away slightly from the pan. The smell of toasted rosemary and sourdough will fill your home—this is the sensory cue that perfection has been reached.
Expert Tips for the Most Visual Sourdough Focaccia
- Use a Metal Pan: Glass or ceramic doesn’t conduct heat as quickly. For that “crunchy exterior,” a light-colored metal pan is essential.
- Wet Your Hands: When dimpling the dough, make sure your fingers are oily or wet. This prevents the dough from sticking and tearing those beautiful bubbles.
- Don’t Over-Dimple: While it is tempting to keep poking, too much dimpling will deflate the air you spent hours building.
- Check the Bottom: Use a spatula to lift a corner of the Sourdough Focaccia Bread. It should be as golden and fried as the top.
If you enjoy the process of slow-fermented foods, you should check out our guide on ricotta stuffed dates for a sophisticated appetizer pairing.
Storage, Reheating, and Freezing
Storage: This bread is best served the day it is made. However, you can store leftovers in an airtight container at room temperature for up to 2 days. To maintain the crunch, avoid plastic bags if possible.
Reheating: Never microwave your focaccia! To revive the “crunchy exterior,” place slices in a 350°F (175°C) oven or a toaster oven for 5-8 minutes until the oil sizzles again.
Freezing: Focaccia freezes beautifully. Slice it into squares, wrap tightly in foil, and place in a freezer bag. It will stay fresh for up to 3 months. Reheat directly from frozen in the oven.
What to Serve With This Sourdough Focaccia Bread
This bread is a meal in itself, but it shines as a side dish. Pair it with a hearty amish hamburger casserole for a comforting family dinner. It is also the perfect vessel for dipping into balsamic vinegar and high-quality olive oil, or sliced horizontally for the ultimate loaded chicken club sandwich.
Frequently Asked Questions
This specific recipe is designed for a sourdough culture. However, you can substitute the 100g starter with a pinch of commercial yeast and extra flour/water, though you will lose the sourdough flavor profiles.
While not strictly required, a 12-24 hour cold ferment in the fridge is what develops the ‘glassy’ bubbles and the complex sourdough tang. It also makes the dough easier to handle.
Wait until the dough is fully proofed and jiggly. Drizzle with plenty of olive oil and use your fingertips to press straight down until you touch the bottom of the pan.
A rectangular metal pan is best. Metal conducts heat faster than glass or ceramic, which helps ‘fry’ the bottom of the dough in the olive oil for a superior crunch.
Lack of bubbles is usually caused by an under-active starter or insufficient hydration. Ensure your starter is at its peak and you are using the full amount of water specified for a high-hydration dough.
The Ultimate Sourdough Focaccia Bread Recipe
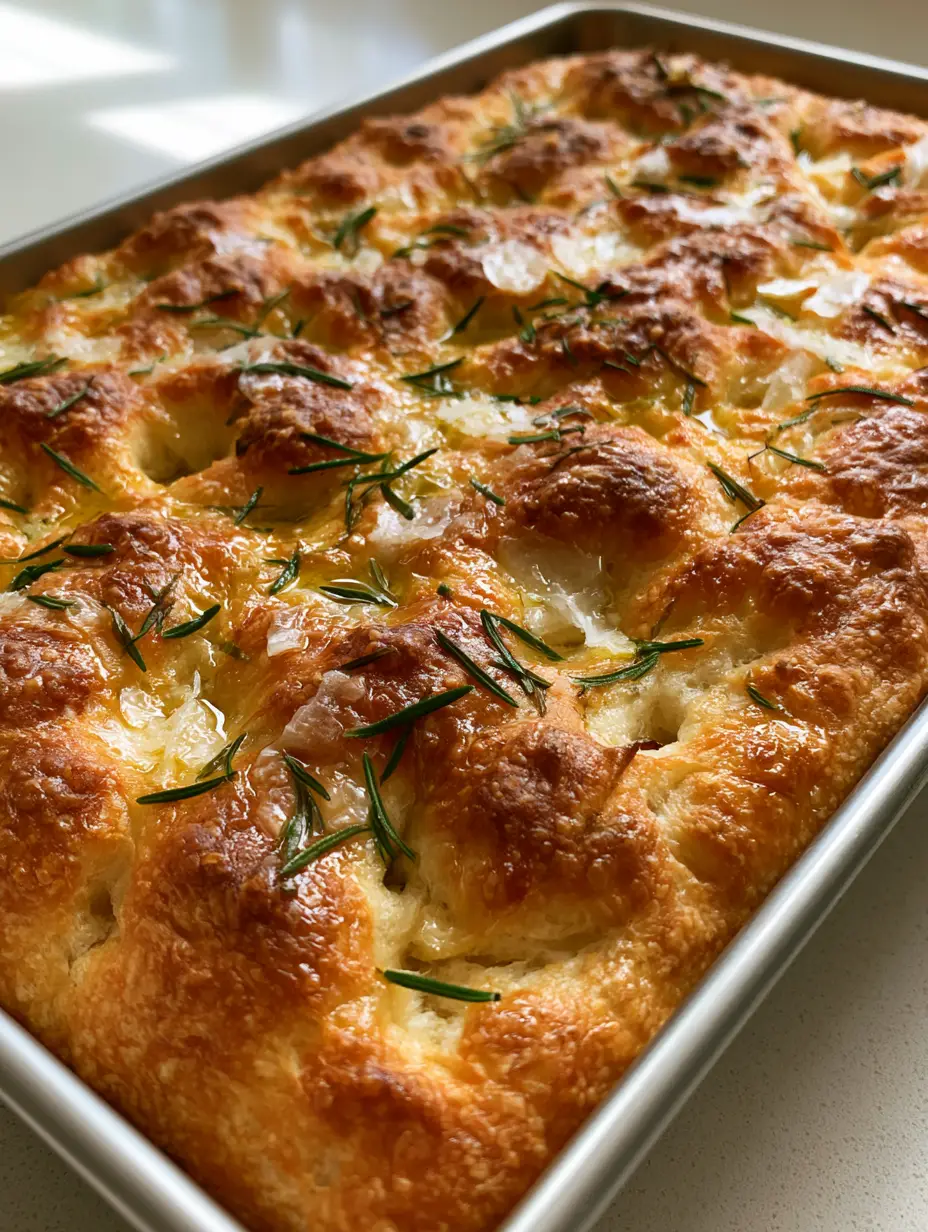
Sourdough Focaccia Bread: The Ultimate Bubbly and Crispy Guide
Ingredients
Equipment
Method
- Mix bread flour and water in a bowl until hydrated. Let rest for 30 minutes.
- Add active starter and fine salt. Pinch and fold with wet hands until fully combined.
- Perform 4 sets of stretch and folds every 30 minutes over 2 hours.
- Transfer to an oiled metal pan and refrigerate for 12-24 hours for flavor development.
- Let sit at room temperature for 2-4 hours until jiggly and bubbly.
- Drizzle with olive oil, dimple deeply with fingers, top with rosemary and flaky salt. Bake at 425°F (220°C) for 25-30 minutes.
Notes
Ensure your starter is at peak activity before starting.

Save This Recipe to Pinterest!
Did those glassy air bubbles stop your scroll? Make sure to save this Sourdough Focaccia Bread recipe to your Bread or Sourdough boards on Pinterest so you never lose it! We love seeing your kitchen successes. If you bake this, please upload a photo in the comments and let us know how that crunch sounded. Don’t forget to follow RecipeHarvest for more high-hydration baking secrets and leave a 5-star rating below to help other home cooks find the fluffiest bread on the internet!