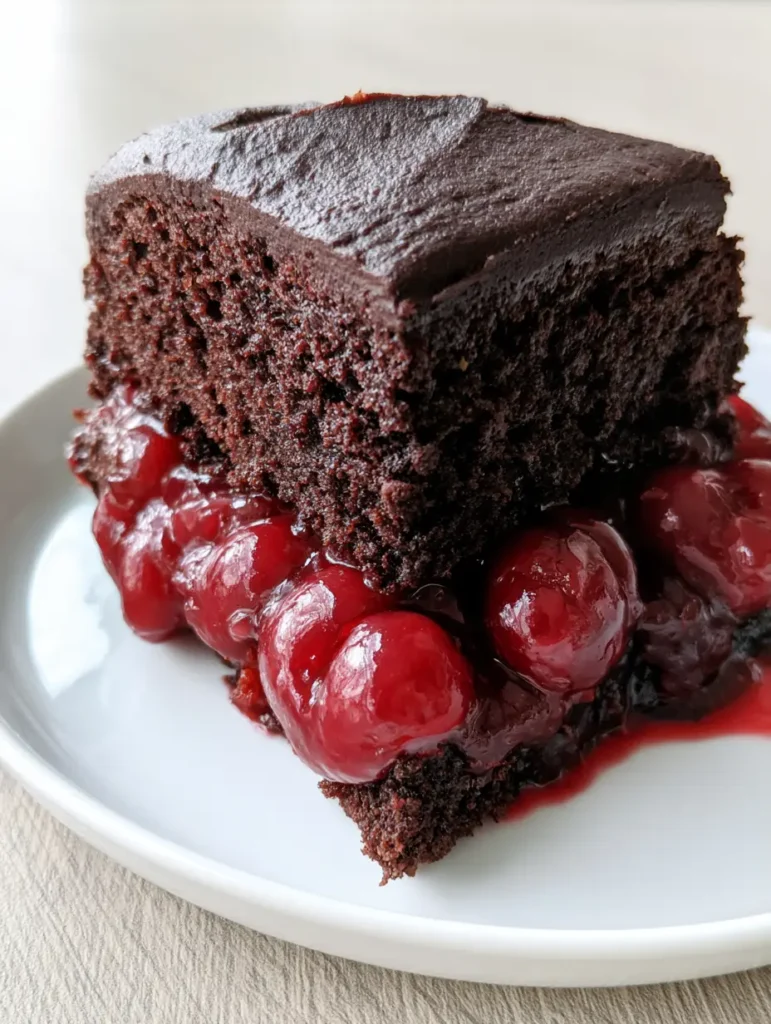
This Chocolate Cake with Cherry Pie Filling is the show-stopping dessert your Pinterest boards have been waiting for. Imagine a thick slice of dark chocolate sponge, so moist and porous it practically melts, sandwiching a generous, glossy layer of bright red cherry pie filling. Every bite features whole pitted cherries and a deep, matte dark chocolate frosting that balances the sweetness perfectly. Whether you are hosting a dinner party or just craving a bakery-style indulgence, this recipe delivers that iconic “ooze” factor that makes every follower stop scrolling.
Why You Will Obsess Over This Chocolate Cherry Masterpiece
- Visual Texture: The contrast between the dark chocolate crumb and the glossy red cherry syrup creates a stunning handheld photo opportunity.
- The “Ooze” Factor: We have perfected the ratio of filling to cake so the whole cherries stay tucked inside while the syrup slightly drips onto your white ceramic plate.
- Matte Finish Frosting: Unlike greasy buttercreams, this smooth dark chocolate frosting provides a professional, matte aesthetic that looks incredible in natural daylight.
- Perfect Pairing: If you love fruit-infused chocolate, you might also want to try our Rich Chocolate Pistachio Tart for your next gathering.
The Secret Ingredients for a Moist Dark Chocolate Sponge
Creating a Chocolate Cake with Cherry Pie Filling requires a base that can stand up to the weight of the fruit without becoming soggy. Here is what you need:
- All-Purpose Flour: 2 cups (250g). Provides the necessary structure for the high-moisture cherry center.
- Dutch-Processed Cocoa Powder: 3/4 cup (75g). This is vital for that dark, porous sponge look and deep chocolate flavor.
- Granulated Sugar: 2 cups (400g). To balance the tartness of the cherries.
- Whole Milk: 1 cup (240ml). Room temperature milk ensures a smooth, even batter.
- Vegetable Oil: 1/2 cup (120ml). Provides a lingering moistness that butter alone can’t achieve.
- Boiling Water: 1 cup (240ml). This “blooms” the cocoa powder, intensifying the dark color.
- Cherry Pie Filling: 1 can (21 oz / 600g). Look for a premium brand with whole pitted cherries for the best visual impact.
If you enjoy unique fruit and cake combinations, our Pistachio Pineapple Cake is another fantastic option for those who love a moist, textured crumb.
Mastering the Dark Chocolate Sponge Layers
Step 1: Prepping for Success
Preheat your oven to 350°F (175°C). Grease two 9-inch round cake pans and line them with parchment paper. This ensures your dark chocolate sponge releases perfectly without tearing, maintaining that smooth edge seen in the visual blueprint.
Step 2: Mixing the Dry Base
In a large bowl, whisk together the flour, cocoa powder, sugar, 1.5 tsp baking powder, 1.5 tsp baking soda, and 1 tsp salt. Sifting the cocoa powder is non-negotiable to avoid lumps in your matte frosting later.
Step 3: Emulsifying the Wet Ingredients
Add the eggs, milk, oil, and 2 tsp vanilla extract. Beat on medium speed for 2 minutes. The batter will be thin, but don’t panic! This high moisture content is what creates the moist, porous dark chocolate sponge layers.
Step 4: The Boiling Water Secret
Stir in the boiling water by hand. This thin batter will rise beautifully in the oven. Divide it equally between the pans. Bake for 30-35 minutes until a toothpick comes out clean. Let them cool completely on a wire rack before attempting to add the cherry pie filling.
Assembling the Glossy Cherry Center
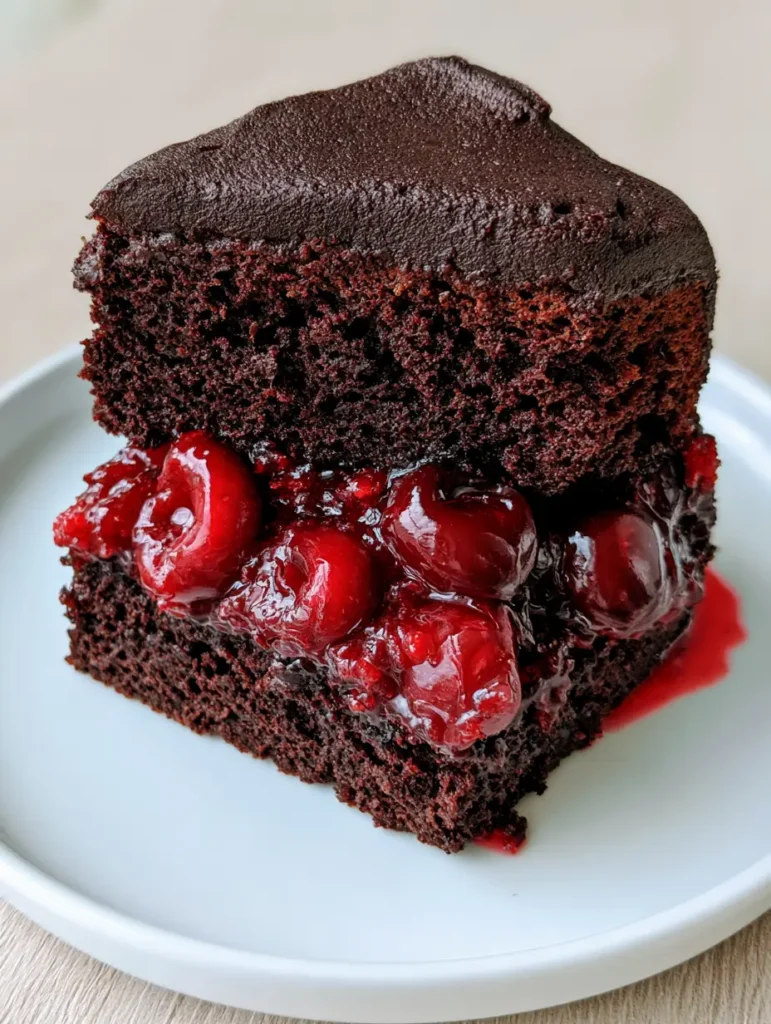
This is the part that makes the Chocolate Cake with Cherry Pie Filling so iconic. Once your cakes are cool, place the first layer on a white ceramic plate.
Pro Tip: Pipe a small “dam” of chocolate frosting around the edge of the bottom layer. This keeps the glossy red cherry filling from escaping prematurely. Pour the filling into the center, ensuring the whole pitted cherries are evenly distributed.
Gently place the second cake layer on top. Press down slightly so the red cherry syrup begins to peek out—this creates that authentic, handheld smartphone photo aesthetic.
Crafting the Smooth Matte Dark Chocolate Frosting
For the perfect matte finish, we use a high-ratio cocoa buttercream. In a stand mixer, beat 1 cup (225g) of softened unsalted butter until pale. Slowly add 3.5 cups (440g) of powdered sugar and 1/2 cup (50g) of cocoa powder.
Add 3 tbsp (45ml) of heavy cream and 1 tsp vanilla. Whip on high until it reaches a smooth, matte consistency. Spread this generously over the top and sides. The goal is a sleek, non-reflective surface that contrasts beautifully with the shine of the fruit.
Looking for more handheld treats? Check out our Soft Banana Bread Cookies for a quicker baking project!
Expert Tips for the Perfect Slice
- Chill Before Cutting: To get that clean, sharp slice where the two layers of sponge are clearly defined, chill the cake for 30 minutes before serving.
- Use a Hot Knife: Dip your knife in hot water and wipe it dry between every single cut. This prevents the smooth dark chocolate frosting from smearing into the glossy cherry filling.
- Natural Lighting: For the best Pinterest-worthy photos, place your white ceramic plate near a window with soft daylight to capture the crumb texture.
- Drain Excess Syrup: If your filling is overly liquid, strain off 2 tablespoons of the syrup before filling to prevent the cake from sliding.
Storage, Reheating & Freezing
Storage: This cake keeps beautifully in an airtight container at room temperature for 2 days, or in the refrigerator for up to 5 days. Due to the cherry pie filling, refrigeration is recommended to keep the fruit fresh.
Freezing: You can freeze the chocolate sponge layers (wrapped tightly in plastic) for up to 3 months. We do not recommend freezing the assembled cake, as the cherry syrup can change texture upon thawing.
What to Serve With This Decadent Cake
A thick slice of Chocolate Cake with Cherry Pie Filling is quite rich. Serve it with a dollop of unsweetened whipped cream or a scoop of Madagascar vanilla bean ice cream to cut through the dark chocolate frosting. For a savory contrast before dessert, consider our Juicy Turkey Burger Recipe for a balanced meal.
Frequently Asked Questions
You can, but you must cook them down with sugar and cornstarch first to create that thick, glossy syrup consistency characteristic of cherry pie filling.
Yes, because of the high fruit and moisture content in the cherry pie filling, it is best stored in the refrigerator to maintain freshness.
Pipe a dam of stiff chocolate frosting around the edge of the bottom cake layer before adding the cherry filling to act as a barrier.
Dutch-processed cocoa powder is essential for achieving the deep, dark chocolate color and porous texture shown in the photos.
Dryness is usually caused by over-measuring flour. Always use a scale or the spoon-and-level method, and ensure you include the vegetable oil for lasting moisture.
The Complete Chocolate Cake with Cherry Pie Filling Recipe
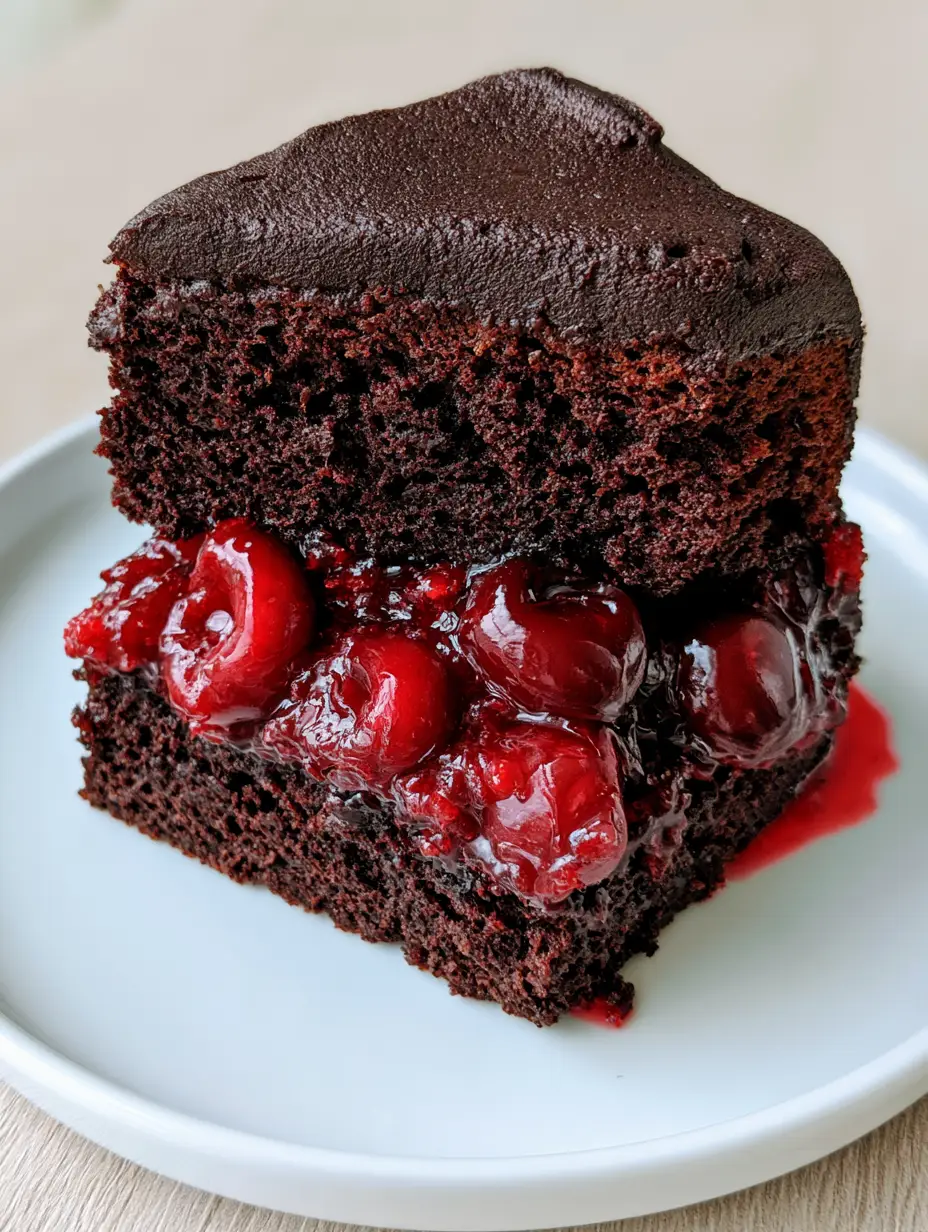
Chocolate Cake with Cherry Pie Filling: The Ultimate Decadent Layer Cake
Ingredients
Equipment
Method
- Whisk flour, sugar, cocoa, baking powder, baking soda, and salt in a large bowl.
- Add milk, oil, eggs, and vanilla. Beat for 2 minutes on medium speed.
- Stir in boiling water by hand. Pour into pans and bake at 350°F for 35 minutes.
- Place one layer on a plate, spread cherry pie filling leaving a small border, and top with the second layer.
- Beat butter, powdered sugar, and cocoa until smooth and matte. Frost the top and sides.
Notes
Use Dutch-processed cocoa for the darkest color.
Save This Recipe to Pinterest!
Did you love this Chocolate Cake with Cherry Pie Filling? Don’t lose it! Pin this recipe to your Dessert Recipes or Chocolate Lovers board on Pinterest. Follow RecipeHarvest for more bakery-style recipes delivered to your feed. If you make this cake, snap a photo of your slice on its white ceramic plate and share it in the comments below—we love seeing your glossy cherry results! Please leave a 5-star rating if you enjoyed this bake!