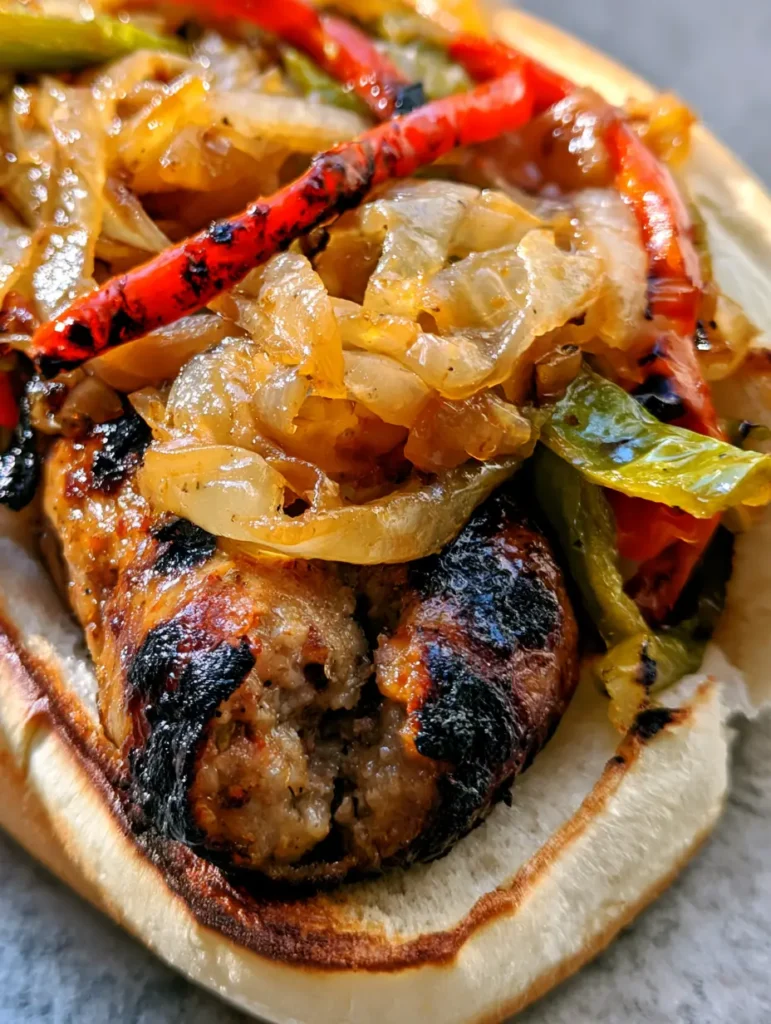
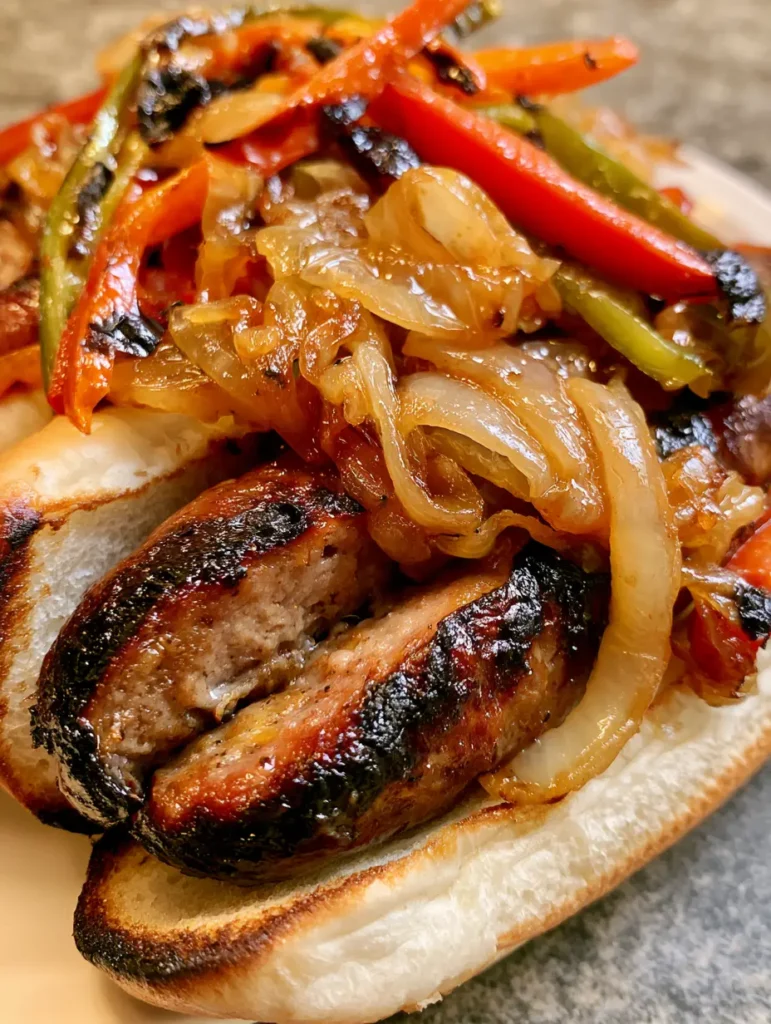
There is nothing quite like the smoky, savory aroma of a Grilled Kielbasa Sandwich hitting the air on a warm afternoon. This isn’t just a basic sausage in a bun; it is a masterclass in texture and flavor, featuring a split beef kielbasa with deep char marks, nestled inside a buttery toasted hoagie. If you have been looking for the ultimate handheld meal that looks as good as it tastes, this glistening, juice-dripping masterpiece is exactly what your rotation needs.
When you take that first bite, you get the snap of the grilled sausage casing followed by the velvety sweetness of golden-brown caramelized onions and the smoky crunch of charred bell peppers. Whether you are hosting a backyard cookout or looking for a high-protein lunch, this Grilled Kielbasa Sandwich delivers professional-grade results with simple, rustic ingredients. It’s the kind of meal that stops the scroll on Pinterest and keeps everyone coming back for seconds.
Why This Grilled Kielbasa Sandwich Is a Total Game Changer
- The Perfect Snap: Butterflying the kielbasa allows for maximum surface area contact with the grill, creating those iconic dark black char marks and a juicy, glistening texture.
- Caramelized Depth: We spend the extra time to turn translucent onions into golden ribbons of sweetness, providing the perfect counterpoint to the salty beef sausage.
- Blistered Texture: By charring the red and green bell pepper strips until they show visible blistered spots, we unlock a smoky sweetness you can’t get from raw veggies.
- Toasted Perfection: A long white hoagie bun with toasted brown edges ensures the sandwich holds up against the glistening meat juices without getting soggy.
The Anatomy of a Perfect Sausage Sandwich: Ingredients
Beef Kielbasa: For this Grilled Kielbasa Sandwich, we recommend a high-quality 14 oz (400g) beef kielbasa. Beef provides a richer, more robust flavor that stands up to the heavy char and sweet onions better than pork or turkey varieties.
Sweet Yellow Onions: You will need 2 large onions (approx. 500g). When cooked low and slow, these provide the “sauce” for the sandwich, adding moisture and a natural sugar element that balances the salt.
Bell Peppers: One red and one green bell pepper provide the classic color palette and a subtle earthy bitterness. We want these thin enough to soften but thick enough to hold those blistered char marks from the high heat.
Hoagie Buns: Choose a sturdy, long white hoagie bun. Avoid ultra-soft “hot dog” style buns; you need something with structure to contain the generous pile of toppings and meat juices.
Unsalted Butter & Oil: Use 2 tbsp (30ml) of neutral oil with a high smoke point (like avocado or canola) for the peppers and 2 tbsp (28g) of butter for toasting the buns to golden-brown perfection.
If you love this flavor profile, you might also enjoy our Kielbasa and Potato Casserole for a cozy weeknight alternative.
Step-by-Step Instructions for the Ultimate Charred Sandwich
Prepping the Kielbasa for Maximum Glisten
First, take your 14 oz (400g) kielbasa and slice it into lengths that match your buns. The secret to the Grilled Kielbasa Sandwich is the “butterfly” cut. Slice the link lengthwise, but do not go all the way through.
Open the sausage like a book. This creates more surface area for the grill. When the fat renders, it will pool on the flat surface, creating that authentic, glistening meat texture seen in professional food photography.
Mastering the Caramelized Onions
In a heavy skillet over medium-low heat, add 1 tbsp (15ml) of oil. Add your thinly sliced onions with a pinch of salt. Cook them for about 15-20 minutes, stirring occasionally.
You are looking for a soft, translucent, golden-brown finish. If they start to crisp, turn the heat down. These should be jammy and sweet, acting as the primary condiment for your Grilled Kielbasa Sandwich.
Charring the Peppers to Blistered Perfection
While the onions finish, crank your grill or a cast-iron grill pan to medium-high heat. Toss your red and green pepper strips in a light coating of oil. Place them directly over the heat source.
Leave them undisturbed for 2-3 minutes until you see visible blistered char spots. Flip and repeat. They should be tender but still have a slight “bite” to them, mimicking the smoky flavor of a wood-fired grill.
Searing the Sausage and Toasting the Bun
Place the butterflied kielbasa flat-side down on the hot grill. Press down slightly with a spatula. You want dark, black char marks that contrast with the pink, juicy interior. This should take about 3-4 minutes per side.
During the last minute of grilling, spread a thin layer of butter on your split hoagie buns. Place them face-down on the grill until the edges are toasted brown and the center is warm and pillowy. This prevents the Grilled Kielbasa Sandwich from becoming a mess as you eat it.
For a different take on a grilled handheld, check out our Korean Steak Sandwich which uses similar high-heat techniques.
Expert Tips for Success
- Don’t Rush the Onions: Caramelization is a chemical reaction (the Maillard reaction). If you rush it with high heat, you’ll get burnt onions instead of sweet ones.
- Dry the Sausage: Pat the kielbasa dry with a paper towel before grilling. This ensures it sears and chars immediately rather than steaming in its own moisture.
- The Steam Tent: If you want your cheese (optional) to melt perfectly, place it on the sausage in the last minute of grilling and cover with a metal bowl or lid for 30 seconds.
- Natural Daylight: If you’re taking photos for Pinterest like the one in our header, aim for soft, side-lit natural daylight to capture the oil glisten and steam.
Storage, Reheating & Freezing
Storage: Keep the components separate for the best results. Store the grilled kielbasa and the onion/pepper mixture in an airtight container in the fridge for up to 4 days.
Reheating: For the best Grilled Kielbasa Sandwich leftovers, reheat the meat and veggies in a skillet over medium heat. This revives the “glistening” look. Avoid the microwave if possible, as it can make the sausage rubbery.
Freezing: You can freeze the grilled sausage links and the onion/pepper mixture for up to 2 months. Thaw in the fridge overnight before reheating and assembling on a fresh bun.
What to Serve With This Grilled Kielbasa Sandwich
This sandwich is hearty on its own, but it pairs beautifully with high-contrast sides. A Classic Broccoli Salad provides a cold, crunchy, and tangy balance to the warm, smoky sausage.
If you’re looking for something with a bit more kick, try serving it alongside a small bowl of our Italian Grinder Tortellini Salad for a full deli-style feast. Traditionalists can never go wrong with thick-cut kettle chips or a spicy vinegar-based coleslaw.
Frequently Asked Questions
Yes! A cast-iron grill pan is the best indoor substitute. Use medium-high heat and a small amount of oil to achieve those same blistered spots on the peppers and char on the meat.
Ensure your grill is preheated to medium-high. Pat the sausage dry before grilling and press down slightly with a spatula to ensure full contact with the grill grates.
For this specific recipe, no. Grilling the butterflied sausage directly allows the fats to render and create a glistening, crispy texture that boiling would ruin.
Lay the sausage flat and use a sharp chef’s knife to slice lengthwise, about 3/4 of the way through. Open it like a book so it lays flat on the grill for maximum charring.
Yellow or Sweet (Vidalia) onions are best. They have a high sugar content which breaks down beautifully over low heat to create a jammy, sweet topping.
The Best Grilled Kielbasa Sandwich Recipe
Ready to build the sandwich of your dreams? Follow the instructions below to recreate this glistening, charred beef sausage masterpiece. This recipe is designed to maximize flavor while providing that authentic “handheld” look that thrives on social media.
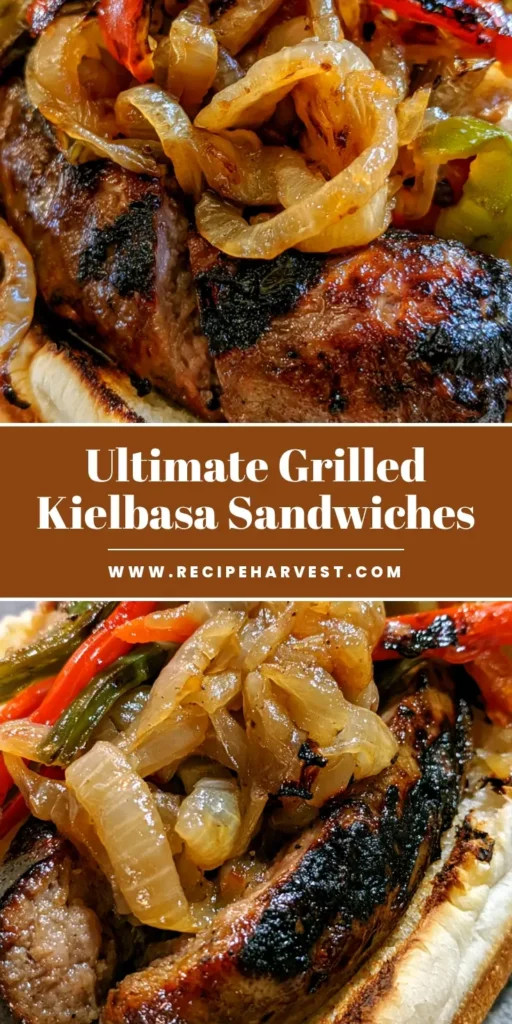

Grilled Kielbasa Sandwich with Caramelized Onions and Blistered Peppers
Ingredients
Equipment
Method
- Heat 1 tbsp oil in a skillet over medium-low heat. Add onions and a pinch of salt. Sauté for 15-20 minutes until translucent and golden-brown.
- Toss pepper strips in remaining oil. Grill over medium-high heat for 5-6 minutes until visible blistered char spots appear.
- Place butterflied kielbasa flat-side down on the hot grill. Cook for 3-4 minutes per side until dark black char marks form and meat is glistening.
- Butter the inside of the hoagie buns. Place face-down on the grill for 1 minute until edges are toasted brown.
- Place the grilled kielbasa inside the toasted bun. Top with a generous pile of caramelized onions and charred peppers.
Notes
Slow-cook the onions for the best sweetness.
Save This Recipe to Pinterest!
Did you love the smoky char and sweet onions on this Grilled Kielbasa Sandwich? If so, please save this recipe to your “Grilling” or “Easy Dinner” boards on Pinterest so you never lose it!
We would love to see how yours turned out! Upload a photo of your sandwich in the comments below or tag @RecipeHarvest on social media. Your feedback helps our community grow, so please leave a 5-star rating if you enjoyed this meal!
Looking for more grilled inspiration? Don’t miss our Hawaiian Chicken Sandwich for a tropical twist on your next cookout.