If you are searching for the perfect weeknight meal that looks like it came from a professional kitchen, these Honey Garlic Chicken Skewers are your answer. This recipe combines the smoky char of the grill with a thick, glistening glaze that hits every flavor note: sweet, savory, and aromatic. Whether you are prepping for a summer BBQ or a quick indoor dinner, these skewers deliver high-impact flavor with minimal effort.
The secret to these Honey Garlic Chicken Skewers lies in the double-glazing technique. By layering the sauce during the final minutes of cooking, we achieve that reflective, dark amber finish seen in the photos. This isn’t just a recipe; it’s a masterclass in achieving the perfect balance of caramelized edges and juicy, tender chicken breast cubes.
Why You Will Obsess Over These Sticky Honey Garlic Skewers
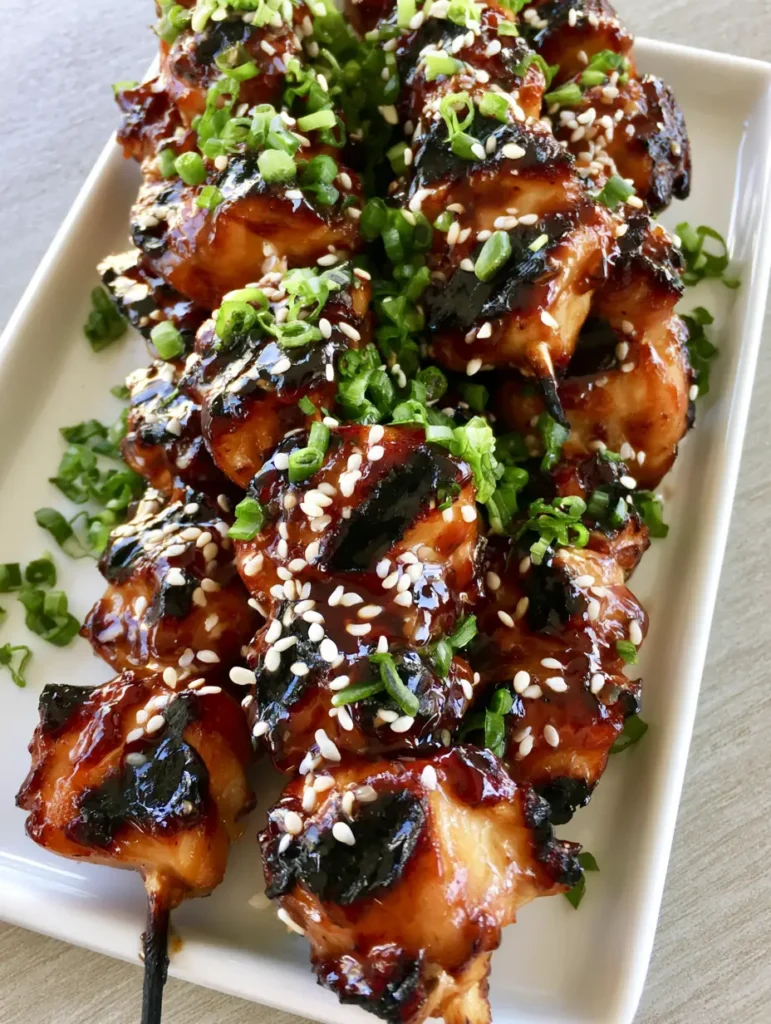
- Visual Masterpiece: The contrast between the dark charred chicken edges and the vibrant green onions makes this a Pinterest-worthy dish every time.
- The Perfect Texture: Using a high-heat sear ensures the honey garlic sauce thickens into a sticky, reflective coating rather than a thin liquid.
- Elite Flavor Profile: Freshly minced garlic and raw honey create a depth of flavor that bottled marinades simply cannot replicate.
- Versatile Pairing: These skewers pair beautifully with everything from crispy garlic parmesan fries to a simple bed of jasmine rice.
Essential Ingredients for the Best Honey Garlic Chicken Skewers
To achieve the forensic visual accuracy of this dish, each ingredient serves a specific culinary purpose. We are aiming for a glaze that clings to the meat and garnishes that pop against the dark amber sauce.
- Chicken Breast: 2 lbs (900g) of boneless, skinless chicken breast. Cut these into uniform 1-inch (2.5cm) cubes to ensure even cooking and maximum surface area for the glaze.
- Raw Honey: 1/2 cup (120ml). Honey provides the sugar base for caramelization and that signature sticky “pull” when you bite into the skewer.
- Soy Sauce: 1/4 cup (60ml). This adds the necessary salinity and helps create the dark amber color seen on the grilled chicken.
- Fresh Garlic: 4-6 cloves, finely minced. Fresh garlic is non-negotiable for that pungent, aromatic kick that defines this dish.
- Rice Vinegar: 1 tablespoon (15ml). A touch of acidity cuts through the sweetness of the honey, balancing the overall palate.
- Toasted Sesame Oil: 1 teaspoon (5ml). This adds an “invisible” layer of nuttiness that complements the toasted white sesame seeds.
- Garnish Duo: 2 tablespoons (16g) toasted white sesame seeds and 1/4 cup (25g) chopped fresh green onions. These provide the visual contrast and fresh crunch required for the final presentation.
How to Prep Your Chicken for Maximum Flavor
Before the chicken even touches the grill, preparation is key. If you are using wooden skewers, you must soak them in water for at least 30 minutes. This prevents the wood from burning before the chicken reaches its internal temperature of 165°F (74°C).
Pat the chicken cubes dry with a paper towel before adding any seasoning. Removing surface moisture allows the honey garlic glaze to adhere better and encourages the development of those dark grill marks. If the meat is too wet, it will steam rather than sear, and you will lose that beautiful charred texture.
For an even deeper flavor profile, you might consider how the aromatics work in a korean gochujang chicken or even a hawaiian teriyaki chicken. While those recipes use different bases, the principle of sugar-based caramelization remains the same.
Step-by-Step Instructions: Achieving the Perfect Char
1. Create the Signature Honey Garlic Glaze
In a small saucepan over medium heat, combine the honey, soy sauce, minced garlic, rice vinegar, and sesame oil. Whisk constantly as the mixture begins to simmer. You want the sauce to reduce by about one-third until it coats the back of a spoon. This ensures that when it hits the Honey Garlic Chicken Skewers, it stays put.
2. Assemble the Skewers
Thread 5-6 cubes of chicken onto each soaked wooden skewer. Do not pack them too tightly; leave a tiny bit of space between each piece so the heat can circulate. This is how you get those caramelized, charred edges on all sides of the meat.
3. The High-Heat Sear
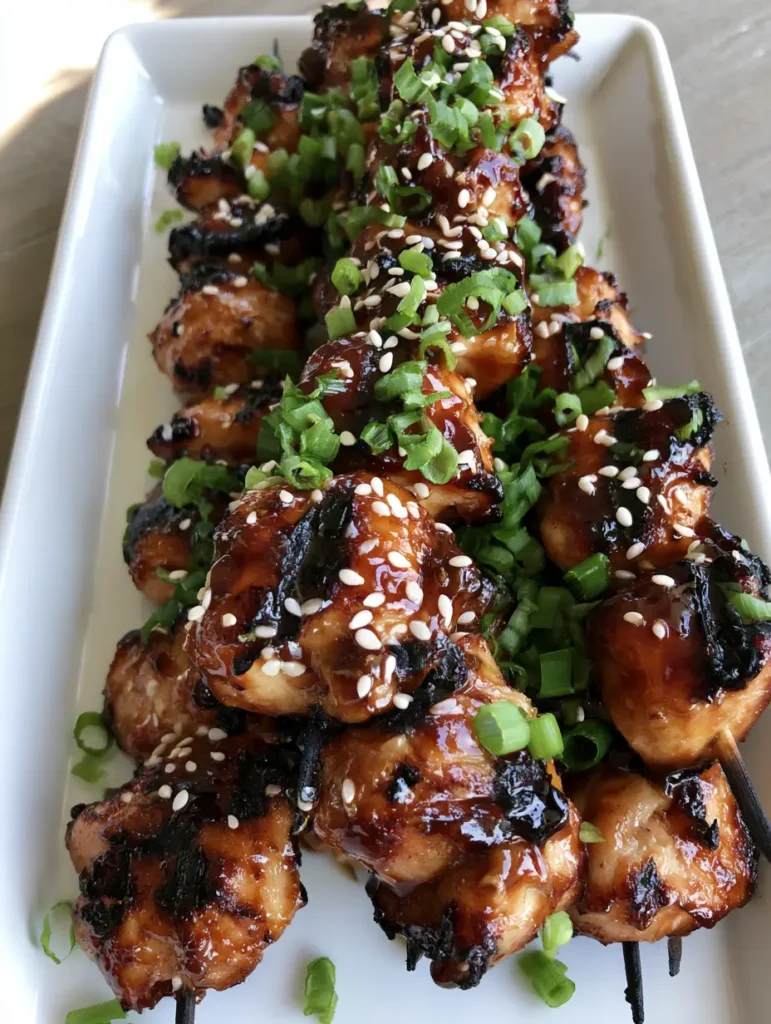
Preheat your grill or cast-iron grill pan to medium-high heat. Lightly oil the grates. Place the skewers down and do not move them for 3-4 minutes. You are looking for distinct, dark grill marks. Flip the skewers and cook for another 3 minutes.
4. The Glazing Loop
During the last 2 minutes of cooking, use a pastry brush to liberally apply the honey garlic sauce. The sugar in the honey will bubble and “blister” against the heat. Turn the skewers frequently during this stage to prevent burning, creating a thick, glistening, dark amber coating that looks reflective under the light.
5. The Final Flourish
Remove the skewers from the heat and place them on a white ceramic serving plate. While the glaze is still hot and tacky, scatter a generous amount of toasted white sesame seeds and finely chopped green onions over the top. The residual heat will slightly soften the onions, releasing their aroma.
Expert Tips for Success
- Control the Sugar: Because honey has a low burn point, only apply the glaze at the very end. If you apply it too early, the skewers will turn black and bitter before the chicken is cooked through.
- Uniform Cubes: Cutting the chicken into identical 1-inch (2.5cm) cubes isn’t just for aesthetics; it ensures every piece of Honey Garlic Chicken Skewers is juicy and none are overcooked.
- Rest the Meat: Let the skewers rest for 3-5 minutes on the plate before serving. This allows the juices to redistribute and the glaze to “set” into its final sticky form.
- Alternative Proteins: This same glaze works wonders if you are making grilled seafood skewers or even pork tenderloin cubes.
Storage, Reheating & Freezing
To Store: Keep leftover Honey Garlic Chicken Skewers in an airtight container in the refrigerator for up to 3 days. Note that the green onions will lose their crunch over time.
To Reheat: For the best results, use an air fryer at 350°F (175°C) for 3-4 minutes. This helps maintain the sticky exterior. Alternatively, a microwave works, but the glaze may become slightly more liquid.
To Freeze: You can freeze the raw chicken in the marinade (minus the honey) for up to 2 months. However, we recommend making the honey garlic glaze fresh for the best visual and textural results.
What to Serve With Honey Garlic Chicken Skewers
These skewers are the star of the show, but they play well with others. Serve them alongside a refreshing slaw or inside chicken street tacos for a fusion twist. If you want a full “bowl” experience, follow the logic of a jerk chicken bowl by adding grilled pineapple and coconut rice.
Frequently Asked Questions
Yes! Cook at 400°F (200°C) for 10-12 minutes, flipping halfway through. Brush the glaze on during the last 2 minutes for the best sticky finish.
Absolutely. Chicken thighs are more forgiving and stay juicy longer, though they may require an extra 2-3 minutes of cook time.
Use a meat thermometer and pull the chicken off the grill at 165°F (74°C). Also, high-heat searing locks in juices while caramelizing the glaze.
A cast-iron grill pan on your stovetop works perfectly to achieve the dark grill marks and charred edges shown in the photos.
You must simmer the sauce in a pan beforehand to reduce it. If it’s still too thin, a tiny cornstarch slurry can help it reach that thick, glistening consistency.
The Ultimate Recipe for Honey Garlic Chicken Skewers
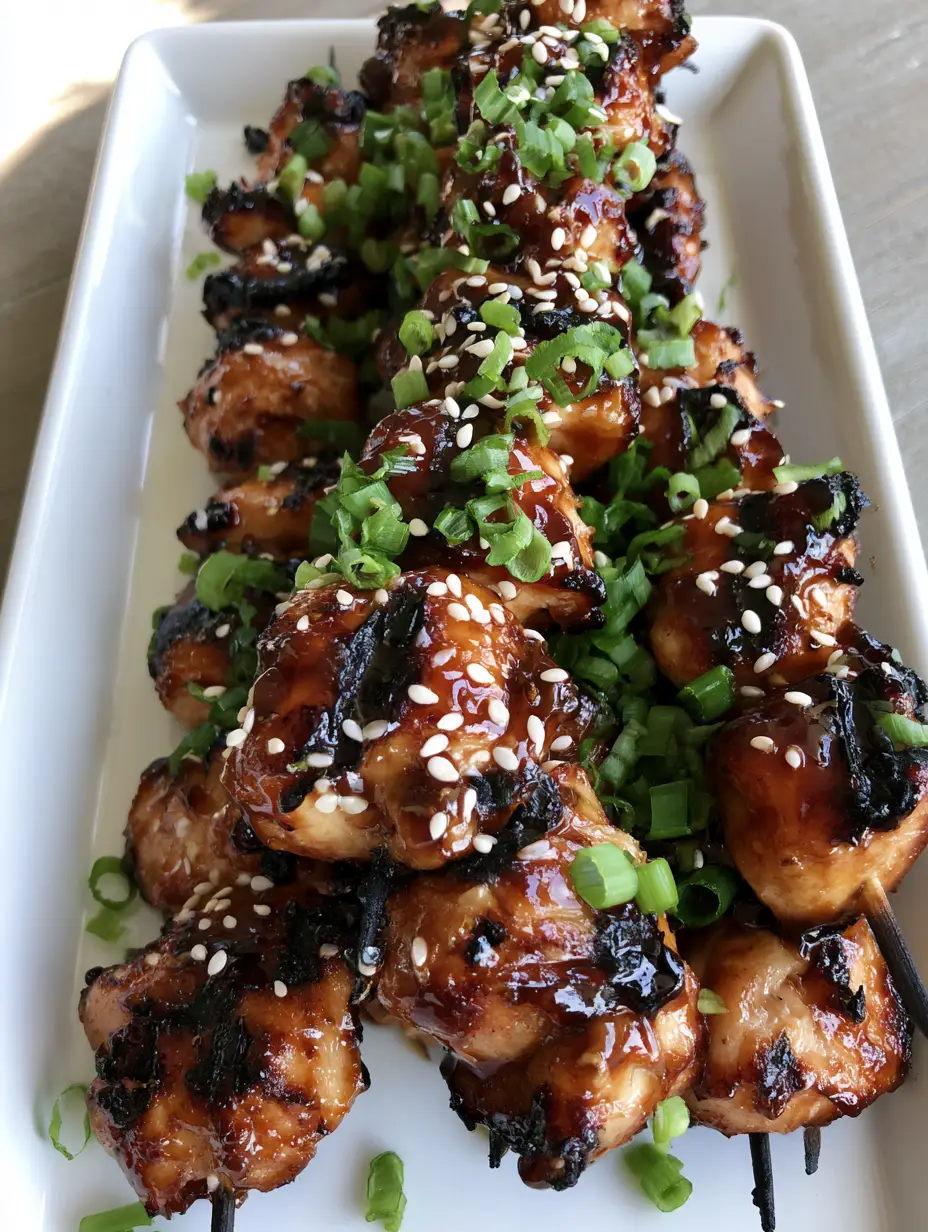
Honey Garlic Chicken Skewers: The Ultimate Sticky Grilled Dinner
Ingredients
Equipment
Method
- Simmer honey, soy sauce, garlic, vinegar, and sesame oil in a saucepan until thickened.
- Thread chicken cubes onto soaked wooden skewers, leaving space for heat circulation.
- Grill skewers over medium-high heat for 3-4 minutes per side until dark grill marks appear.
- Brush the thick sauce onto the chicken during the last 2 minutes, turning to caramelize.
- Remove from heat and immediately top with sesame seeds and green onions on a white plate.
Notes
Apply the glaze only in the final minutes of cooking to avoid burning the honey.
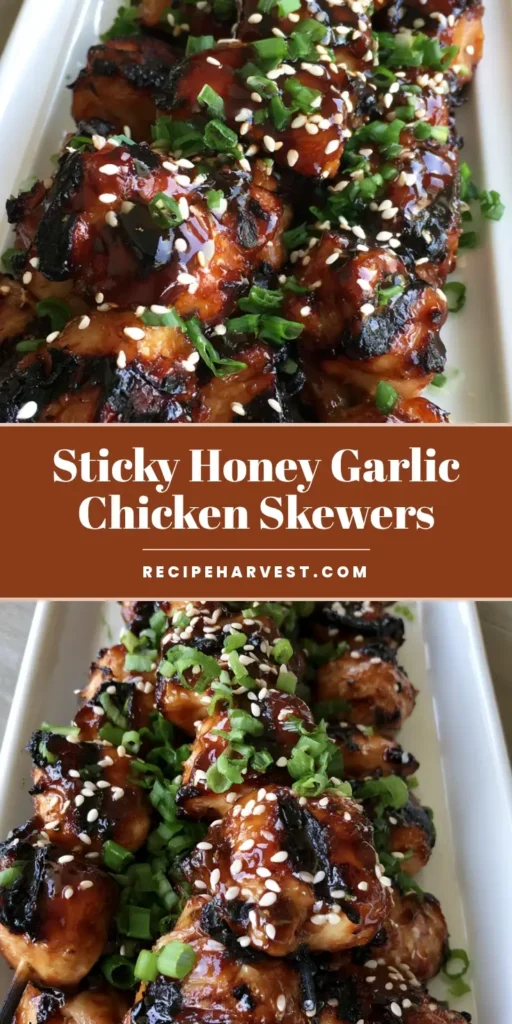
Save This Recipe to Pinterest!
Did you love these Honey Garlic Chicken Skewers? If so, please head over to Pinterest and save this recipe to your “Easy Dinner Ideas” or “Summer Grilling” boards. Following RecipeHarvest helps us continue to bring you elite-level recipes like this one!
Show us your results! Take a photo of your glistening skewers and share it in the comments below. We love seeing those perfect grill marks and green onion garnishes. Don’t forget to leave a 5-star rating if this became an instant favorite in your household!