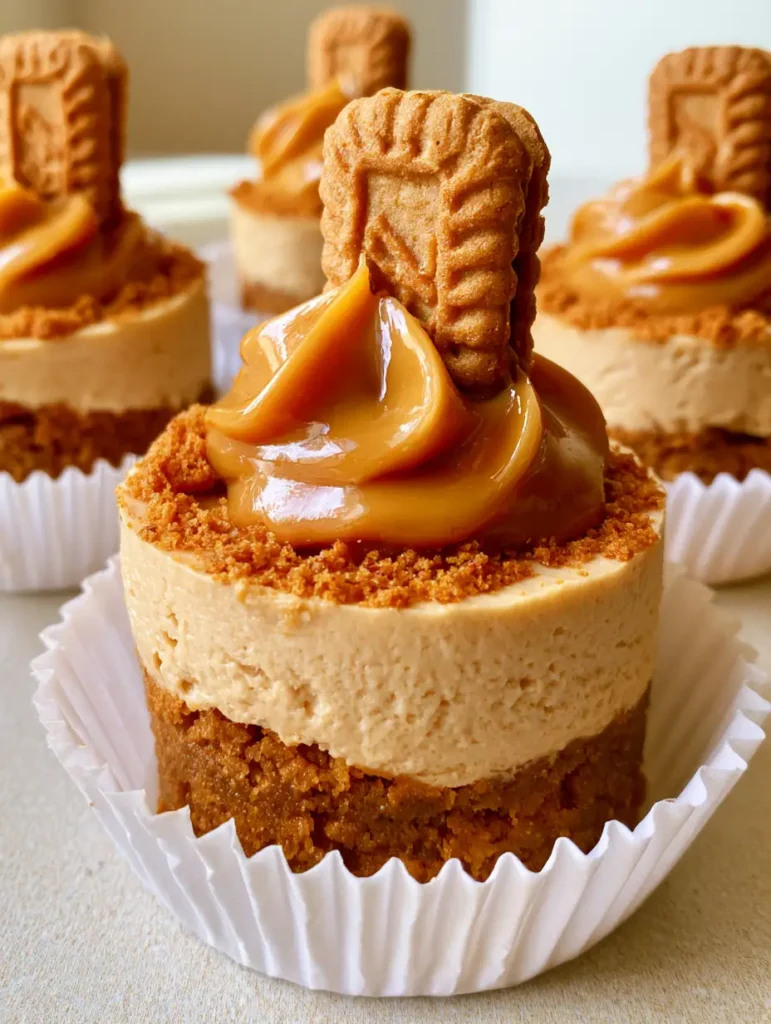
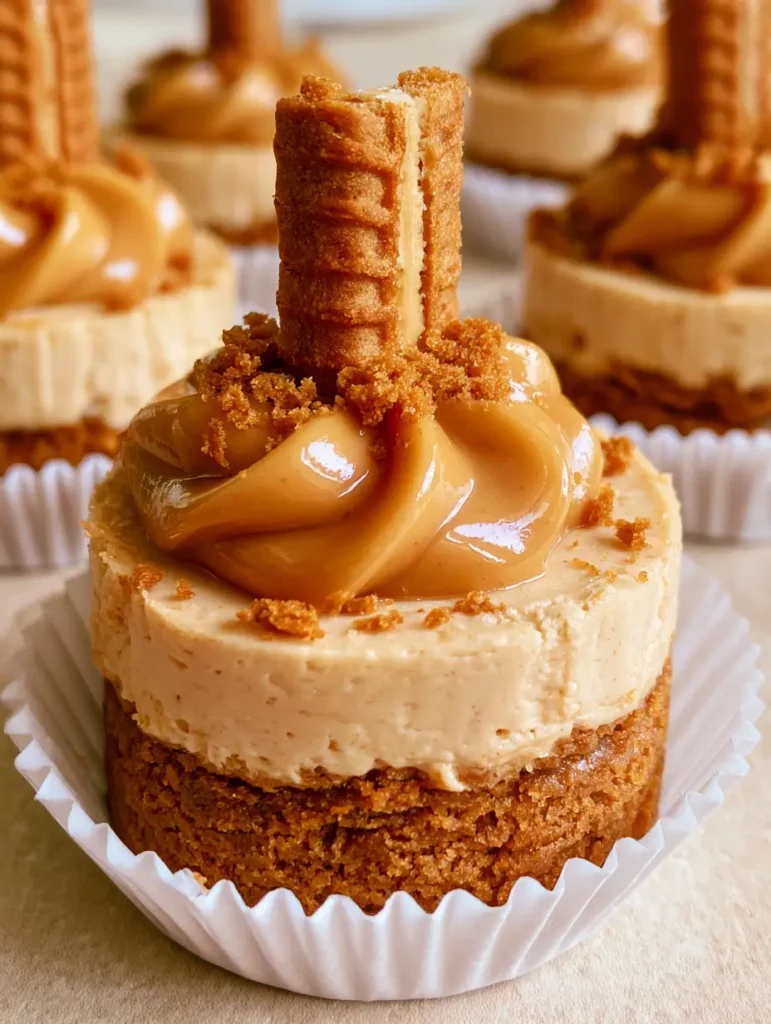
If you are searching for a dessert that combines effortless preparation with gourmet presentation, these No-Bake Mini Biscoff Cheesecakes are your new secret weapon. Featuring a buttery, dark golden-brown Biscoff cookie crust and a silky, pale tan-colored cookie butter filling, these treats are the epitome of indulgence. Whether you are hosting a dinner party or just craving a sweet bite, this recipe delivers professional results without ever turning on the oven.
The beauty of the No-Bake Mini Biscoff Cheesecakes lies in their texture. Every bite offers a satisfying crunch from the compressed biscuit base, followed by the cloud-like fluffiness of the cream cheese layer, all topped off with a glossy, melted cookie butter drizzle. Much like our popular no-bake banana pudding, this recipe relies on high-quality ingredients and proper chilling time to achieve that perfect set.
Why These Individual Biscoff Cheesecakes Rule Pinterest
- Ultra-Smooth Texture: A velvety, aerated filling that melts in your mouth instantly.
- Forensic Visual Appeal: Stunning white fluted paper liners and vertical cookie garnishes make these a viral sensation.
- Zero-Bake Effort: No water baths, no cracks, and no oven-induced stress.
- Perfect Portion Control: Individual servings that are ideal for parties or a quick midnight snack.
The Secret Ingredients for Silky No-Bake Mini Biscoff Cheesecakes
To achieve the exact look and taste of the No-Bake Mini Biscoff Cheesecakes seen in our visual blueprint, you need specific foundational elements. Here is what you will need to gather:
- Lotus Biscoff Cookies (approx. 25 cookies / 200g): These provide the iconic spiced caramel flavor and the dark golden-brown base.
- Unsalted Butter (1/4 cup / 56g): Melted butter acts as the glue for our compressed cookie crust.
- Full-Fat Cream Cheese (16 oz / 450g): Ensure this is at room temperature to avoid lumps in your Biscoff cream cheese filling.
- Smooth Biscoff Spread (1 cup / 250g): This is incorporated into the filling and used for the glossy drizzle on top.
- Powdered Sugar (1/2 cup / 60g): Provides sweetness and helps stabilize the no-bake structure.
- Vanilla Extract (1 tsp / 5ml): Enhances the warm cinnamon and caramel notes of the biscuits.
- Heavy Whipping Cream (1 cup / 240ml): Beaten to stiff peaks to give the cheesecakes their signature lift.
How to Build the Perfect Compressed Cookie Base
Crushing the Biscuits for Maximum Crunch
Start by placing your Biscoff cookies into a food processor. You want to pulse them until you achieve a fine, sandy texture. If you don’t have a processor, place them in a zip-top bag and use a rolling pin. Aim for a dark golden-brown crumb that resembles wet sand once mixed with the melted butter.
Pressing into White Fluted Liners
Line a standard muffin tin with white paper liners. Distribute the buttery crumbs evenly among the 12 wells. Use the back of a small spoon or a heavy shot glass to firmly compress the layer. This ensures the base doesn’t crumble when you peel away the paper later. Chill this layer in the fridge while you prepare the stars of the show: the No-Bake Mini Biscoff Cheesecakes filling.
Crafting the Pale Tan Biscoff Cream Cheese Filling
Creaming the Base
In a large mixing bowl, beat the softened cream cheese and 3/4 cup (approx. 190g) of the Biscoff spread together. You are looking for a thick, smooth, pale tan-colored mixture. Add the powdered sugar and vanilla extract, continuing to beat until fully incorporated and free of any white streaks.
Folding for Aeration
In a separate chilled bowl, whip your heavy cream until it reaches stiff peaks. Be careful not to over-whip it into butter! Gently fold the whipped cream into the Biscoff mixture. This “folding” technique is similar to how we handle delicate batters in our mini cheese danish to keep things light and airy. The final filling should be voluminous and hold its shape.
Assembly and the Essential Chilling Phase
Spoon the filling over your chilled crusts, smoothing the tops with an offset spatula. For a truly professional look, you can pipe the filling using a large round tip. Now comes the hard part: patience. The No-Bake Mini Biscoff Cheesecakes must chill for at least 4 to 6 hours, though overnight is preferred. This allows the fats in the cream cheese and Biscoff spread to solidify, creating a clean bite.
The Signature Visual Garnish: Drizzles and Halves
Creating the Glossy Biscoff Swirl
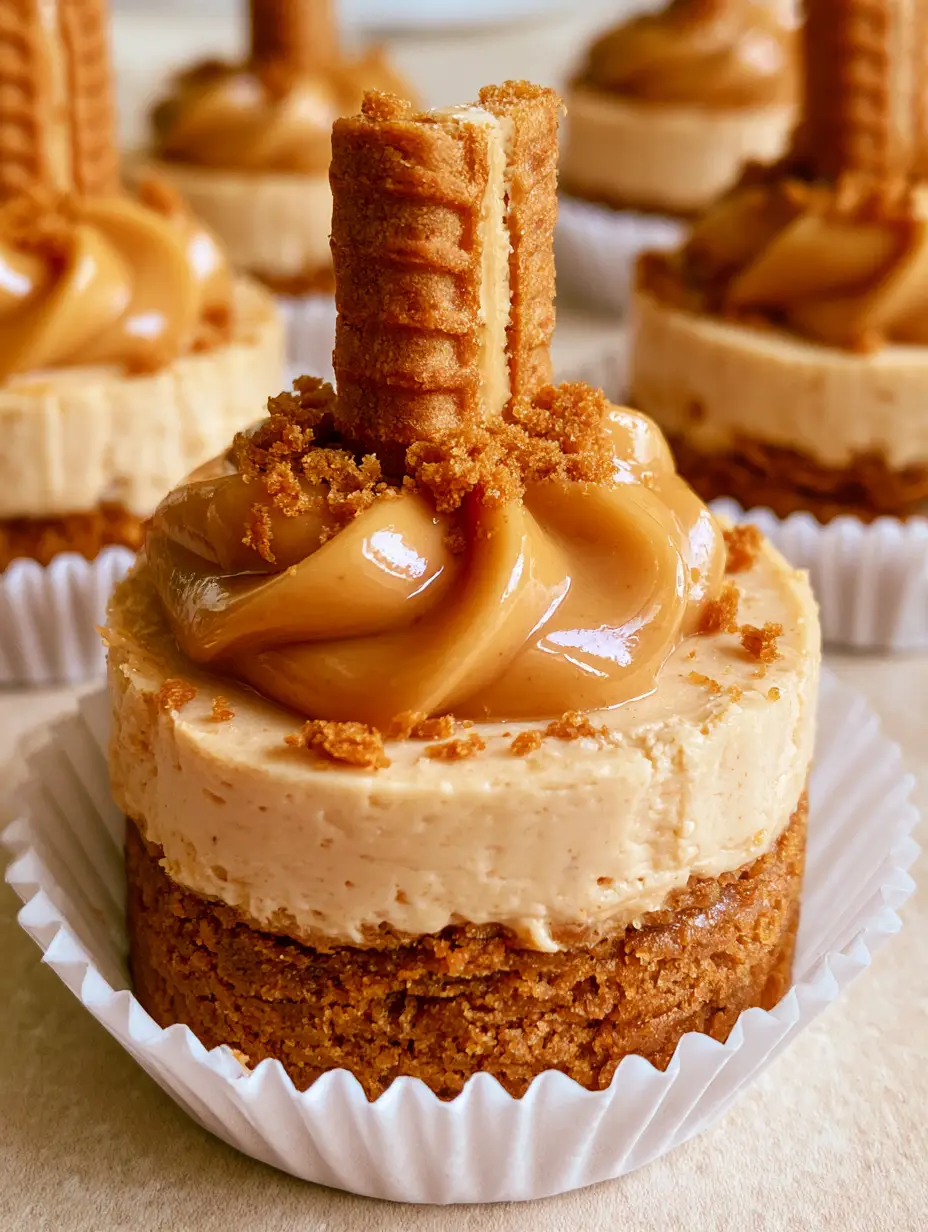
Once the cheesecakes are set, take your remaining Biscoff spread and microwave it in 15-second intervals until it is liquid and pourable. Using a spoon or a small squeeze bottle, create a smooth, glossy swirl of melted cookie butter on top of each cheesecake. This matches the Midjourney prompt perfectly, providing that high-end bakery finish.
The Final Flourish
While the drizzle is still tacky, take a whole Biscoff biscuit and snap it in half. Place a vertical Biscoff cookie half into the center of each cheesecake. Finish with a fine sprinkle of cookie crumbs around the edge. The contrast between the fluted white liners and the golden-brown garnishes is what makes these so click-worthy on Pinterest.
Expert Tips for Success
- Temperature Matters: Always use room temperature cream cheese. Cold cheese will result in tiny lumps that ruin the “pale tan” aesthetic.
- Stable Whipped Cream: Ensure your heavy cream is very cold before whipping. You can even chill your bowl and beaters for 10 minutes prior.
- The Clean Drizzle: If your melted Biscoff spread is too hot, it will melt the cheesecake surface. Let it cool slightly until it is just warm to the touch before drizzling.
- Paper Liner Trick: If the liners are sticking, pop the cheesecakes into the freezer for 15 minutes before serving to help the paper peel away cleanly.
Storage and Freezing Instructions
The No-Bake Mini Biscoff Cheesecakes should always be stored in the refrigerator in an airtight container. They will stay fresh and delicious for up to 5 days. If you want to make these well in advance, they freeze beautifully! Simply freeze them without the cookie garnish, then thaw in the fridge overnight before adding the final vertical biscuit half and crumbs.
What to Serve With This
These cheesecakes are rich and decadent, so they pair perfectly with a sharp contrast. Serve them alongside a cup of bitter espresso or a cold glass of milk. If you are planning a full dessert spread, they look beautiful next to fruit-forward treats like peach cobbler cheesecake donuts or even a light classic broccoli salad if you’re serving these at a brunch.
Frequently Asked Questions
Yes! Use dairy-free cream cheese and a vegan heavy cream alternative. Lotus Biscoff cookies and spread are already naturally vegan.
While Biscoff is classic, Graham crackers or ginger snaps work well, though they will change the flavor profile significantly.
A muffin tin provides the necessary structure while chilling. If you don’t have one, use stiff silicone baking cups on a flat tray.
Melt the Biscoff spread until liquid, then let it sit for 2-3 minutes so it isn’t piping hot before applying it to the chilled cheesecake.
The most common reasons are not whipping the cream to stiff peaks or using low-fat cream cheese, which has a higher water content.
The Final Recipe: No-Bake Mini Biscoff Cheesecakes
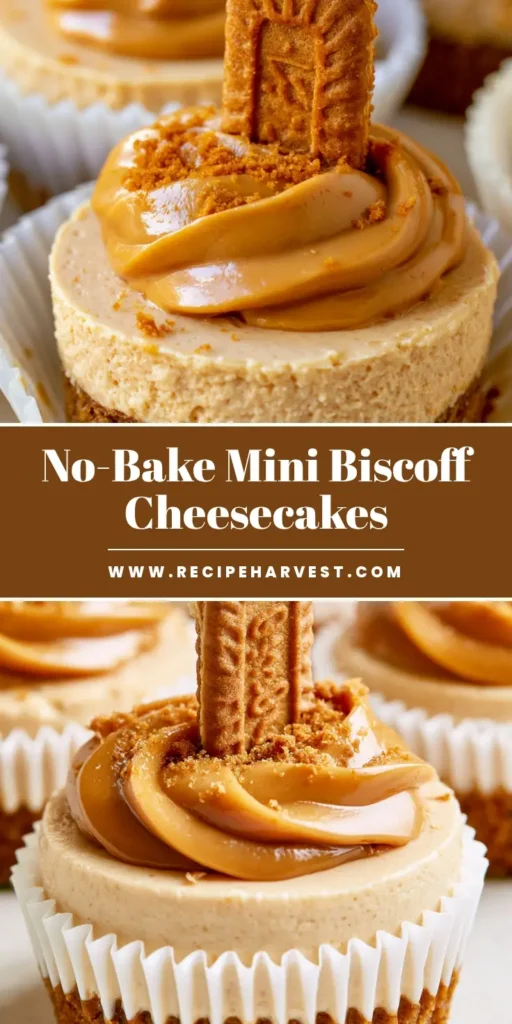
No-Bake Mini Biscoff Cheesecakes: The Ultimate Easy Dessert
Ingredients
Equipment
Method
- Pulse cookies into fine crumbs. Mix with melted butter until the texture resembles dark golden-brown wet sand.
- Press 1.5 tablespoons of crumbs into each white paper liner. Compress firmly with a spoon. Chill.
- Beat softened cream cheese and 3/4 cup Biscoff spread until smooth and pale tan. Mix in powdered sugar and vanilla.
- In a separate bowl, whip heavy cream to stiff peaks. Gently fold into the Biscoff mixture.
- Fill liners with the mixture and refrigerate for 4-6 hours until set.
- Melt remaining Biscoff spread and create a glossy swirl on each cheesecake top.
- Top with a vertical Biscoff cookie half and a fine sprinkle of extra crumbs.
Notes
Chill for at least 4 hours for a clean set.
Share Your Biscoff Creations!
We want to see your results! If you make these No-Bake Mini Biscoff Cheesecakes, please head over to Pinterest and save this recipe to your favorite dessert board. Follow @RecipeHarvest for more viral treats. Don’t forget to leave a 5-star rating in the comments below and upload a photo of your finished cheesecakes—we love seeing those glossy swirls!